How to Install Architectural Shingles in 2025 (Step by Step Guide)
Installation & Care
Shingle Roofing Selection
October 29,2025
How to install architectural shingles in 2025 (step by step guide)

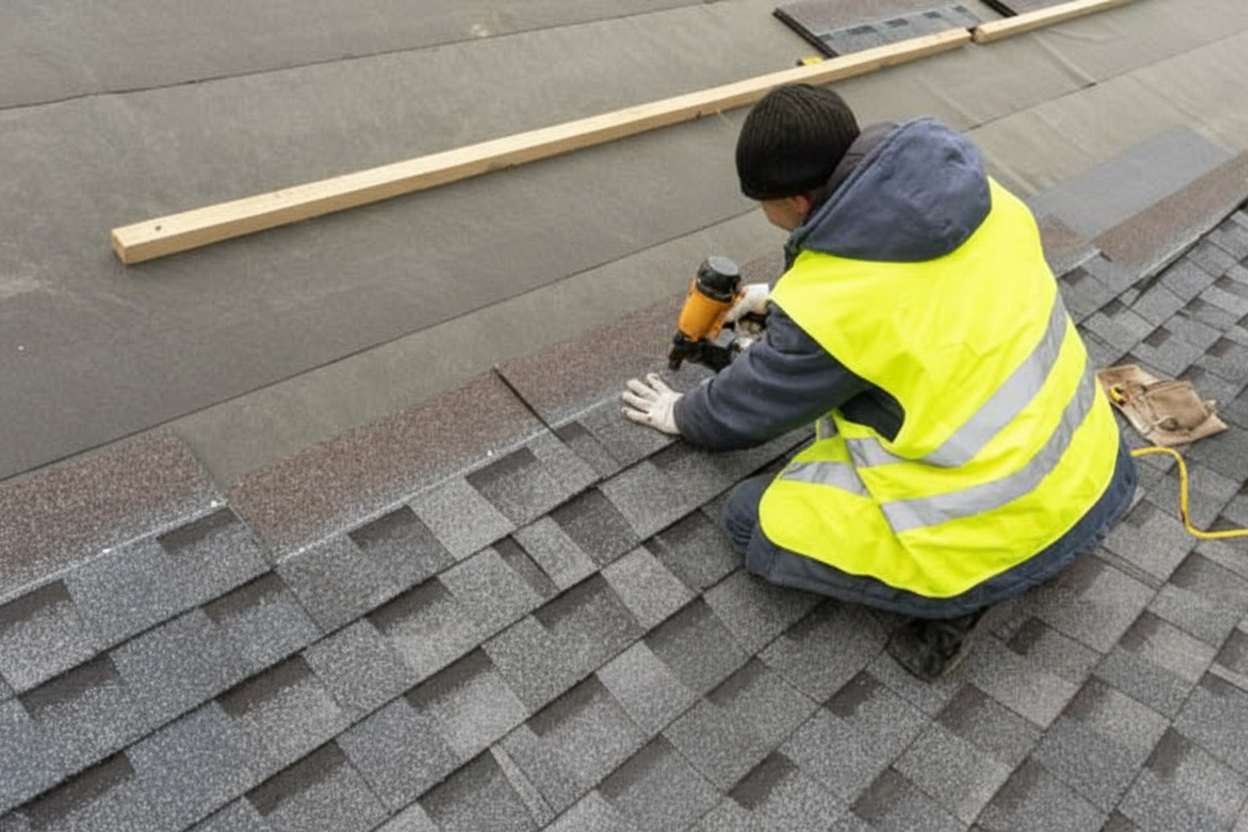
Alt text: Professional roofers installing architectural shingles on a residential roof with proper safety equipment and technique
Architectural shingles offer superior durability and curb appeal compared to standard three-tab options. If you are considering a DIY installation or want to understand the process before hiring professionals, this guide walks you through everything you need to know about installing dimensional shingles properly.
Quick insight: Architectural shingles typically last 25 to 30 years and provide better wind resistance than traditional shingles, making them a smart long-term investment for your home.
We will cover the essential preparation steps, a detailed installation walkthrough, and common mistakes to avoid so your roof performs at its best.
What makes architectural shingles different
Architectural shingles (also called dimensional shingles) are premium asphalt shingles with a layered, three-dimensional appearance. Unlike flat three-tab shingles, they feature multiple layers of material bonded together, creating depth and texture that mimics the look of natural wood or slate.
These shingles weigh more and offer enhanced weather protection, which is why they have become the preferred choice for residential roofing projects. Their improved impact resistance also makes them ideal for areas prone to severe weather. Learn more about impact resistant shingles and what to know before buying to see if upgraded protection fits your needs.
If you are deciding between shingle types, understanding 3 tab vs architectural shingles and their key differences in material will help you make an informed choice.
Preparing your roof for installation
Proper preparation ensures your shingles perform well and last their full lifespan. Skipping preparation steps can lead to leaks, premature wear, and costly repairs down the road.
Gather your tools and materials
You will need roofing nails, a nail gun or hammer, chalk line, underlayment, starter strips, roofing adhesive, utility knife, ladder, and safety equipment including a harness and gloves. Having everything ready before you start saves time and keeps the project moving smoothly.
Inspect and repair the roof deck
Examine your roof deck carefully for any damaged or rotted wood. Replace compromised sections to create a solid foundation. A weak deck will not support your new shingles properly and can lead to sagging or failure.
Remove old shingles
Strip existing shingles down to the bare deck. Installing new shingles over old ones creates an uneven surface and traps moisture, which shortens the lifespan of your roof. A clean deck also makes it easier to spot any issues that need attention.
Install underlayment
Lay down roofing felt or synthetic underlayment across the entire roof deck. This moisture barrier protects against water infiltration and adds an extra layer of defense. Secure it with staples or roofing nails, working from the bottom edge up and overlapping each row by several inches.
Mark alignment guides
Use a chalk line to snap straight horizontal lines across your roof. These guides keep your shingle rows aligned and ensure a professional finish. Proper alignment is not just cosmetic; it also affects how well water runs off your roof.
Safety reminder: Always wear a safety harness, use a stable ladder, and work in dry conditions. Roofing work involves serious fall risks, so take precautions seriously.
Step by step installation process
Follow these steps to install your architectural shingles correctly and achieve a durable, weather-tight roof.
Step 1: Install starter strips
Begin at the bottom edge of the roof by laying starter strips. These provide a solid base for your first row of shingles and help seal the edges. Let them overhang the edge slightly (about half an inch) to direct water into gutters.
Step 2: Lay the first row
Place your first full shingle along the starter strip, aligning it with your chalk line. Use four roofing nails per shingle, positioned just below the adhesive strip. Proper nailing is critical for wind resistance. Check out our guide on where to nail shingles and avoid common mistakes for detailed nailing placement.
Step 3: Stagger the next rows
For the second row, cut the first shingle to create an offset pattern. This staggered layout prevents water from running down continuous seams and gives your roof its distinctive dimensional look. Continue this offset pattern as you work up the roof.
Step 4: Work your way up
Install each subsequent row, ensuring nails are driven flush but not overdriven. Overlap each row according to the manufacturer’s exposure line (usually five to six inches). Maintain consistent spacing and alignment as you progress toward the peak.
Step 5: Cap the ridge
When you reach the top, install ridge cap shingles along the peak. These specialized pieces seal the ridge and provide a finished appearance. Overlap each cap shingle and secure it with two nails on each side. Ridge cap shingles and why they matter most explains their critical role in roof protection.
Step 6: Seal exposed edges
Apply roofing adhesive to any exposed nail heads and edges. This extra step boosts wind resistance and prevents moisture from seeping under shingles. Pay special attention to valleys and edges where water flow is heaviest.
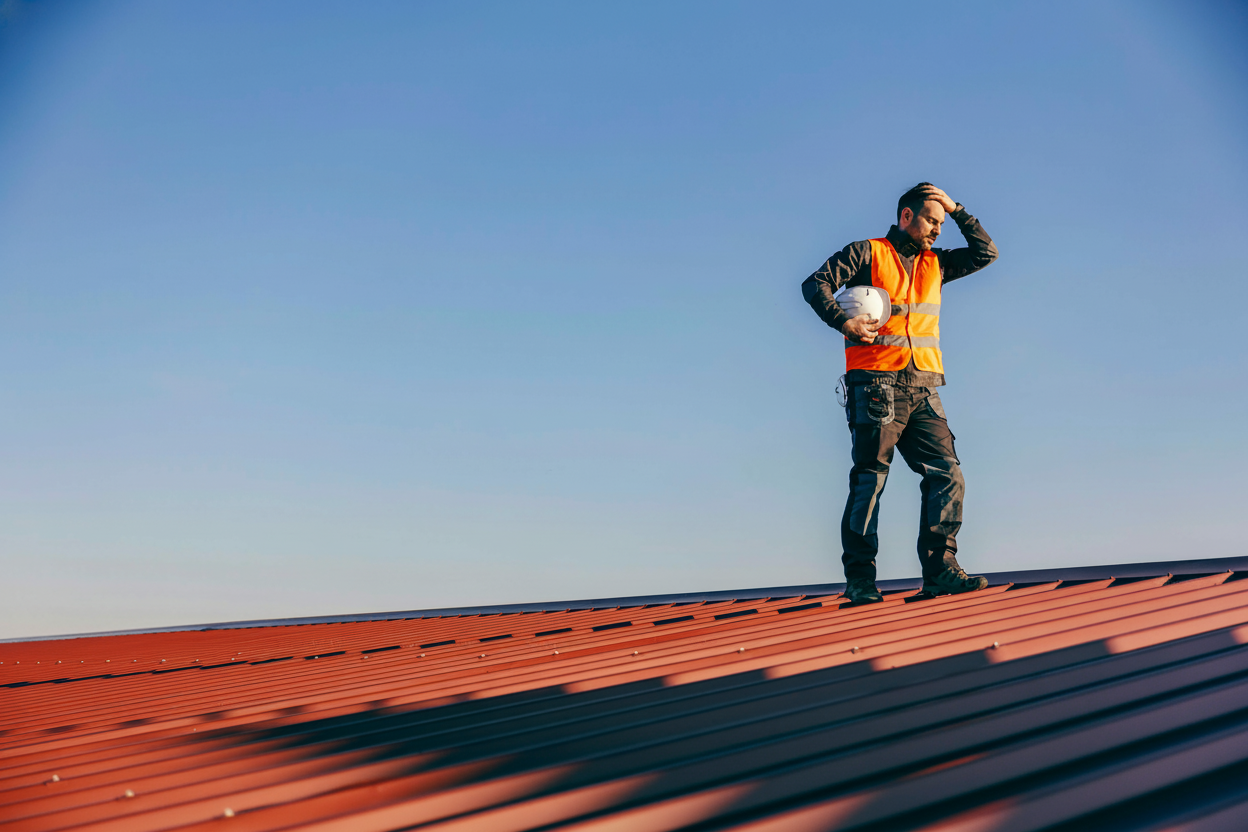
Alt text: Homeowner consulting with roofing professional about architectural shingle selection and installation planning
Pro tip: Keep shingle bundles out of direct sunlight until you are ready to install them. Heat can cause the adhesive strips to stick together, making separation difficult.
Common mistakes and how to avoid them
Even experienced DIYers can make errors that compromise roof performance. Watch out for these common pitfalls:
| Mistake | Consequence | Prevention |
|---|---|---|
| Skipping underlayment | Water leaks and deck damage | Always install a full moisture barrier |
| Using too few nails | Shingles blow off in wind | Use minimum four nails per shingle |
| Misaligned rows | Poor water drainage | Follow chalk lines carefully |
| Overdriving nails | Tears in shingles | Drive nails flush, not deeper |
Understanding what shingles are made of helps you handle them properly during installation. If you notice granule loss or other damage after installation, address it quickly to prevent further issues.
Regular maintenance extends shingle life significantly. Follow our shingle roof maintenance checklist to keep your roof in top condition year after year.