Shingle Roof Maintenance: Complete 7-Step Checklist for 2025
Installation & Care
Shingle Roofing Selection
October 13,2025
Shingle Roof Maintenance: Complete 7-Step Checklist for 2025
Alt text: Professional roofer inspecting asphalt shingles during routine maintenance check
Maintaining your shingle roof doesn’t have to be overwhelming. With the right approach, you can protect your investment and avoid costly repairs down the road. This comprehensive guide walks you through seven essential maintenance steps that keep your asphalt shingles in excellent condition year after year.
Regular roof inspections can extend your roof’s lifespan by 5 to 10 years and save thousands in premature replacement costs.
Why regular shingle roof maintenance matters
Your roof works hard every day, shielding your home from rain, wind, UV rays, and temperature swings. Without proper care, small issues like a missing shingle or clogged gutter can snowball into water damage, mold growth, or structural problems. Regular maintenance offers four key benefits:
Extended lifespan: Catching minor wear early prevents major damage. Simple fixes today mean your roof can reach or exceed its expected lifespan, delaying the need for a full replacement.
Prevention of water damage: A well-maintained roof stays watertight. By addressing vulnerabilities around ridge cap shingles and flashing, you stop leaks before they damage insulation, drywall, or framing.
Cost savings: Investing a little time and money in routine maintenance saves you from expensive emergency repairs or early replacement. Plus, a healthy roof improves energy efficiency, reducing heating and cooling costs.
Peace of mind: Knowing your roof is in good shape lets you sleep easy during storms. Proactive care means fewer surprises and more confidence in your home’s protection.
A well-maintained roof not only protects your home but also improves energy efficiency and increases property value.
Your 7-step shingle roof maintenance checklist
Follow these steps at least twice a year (spring and fall) to keep your roof performing at its best.
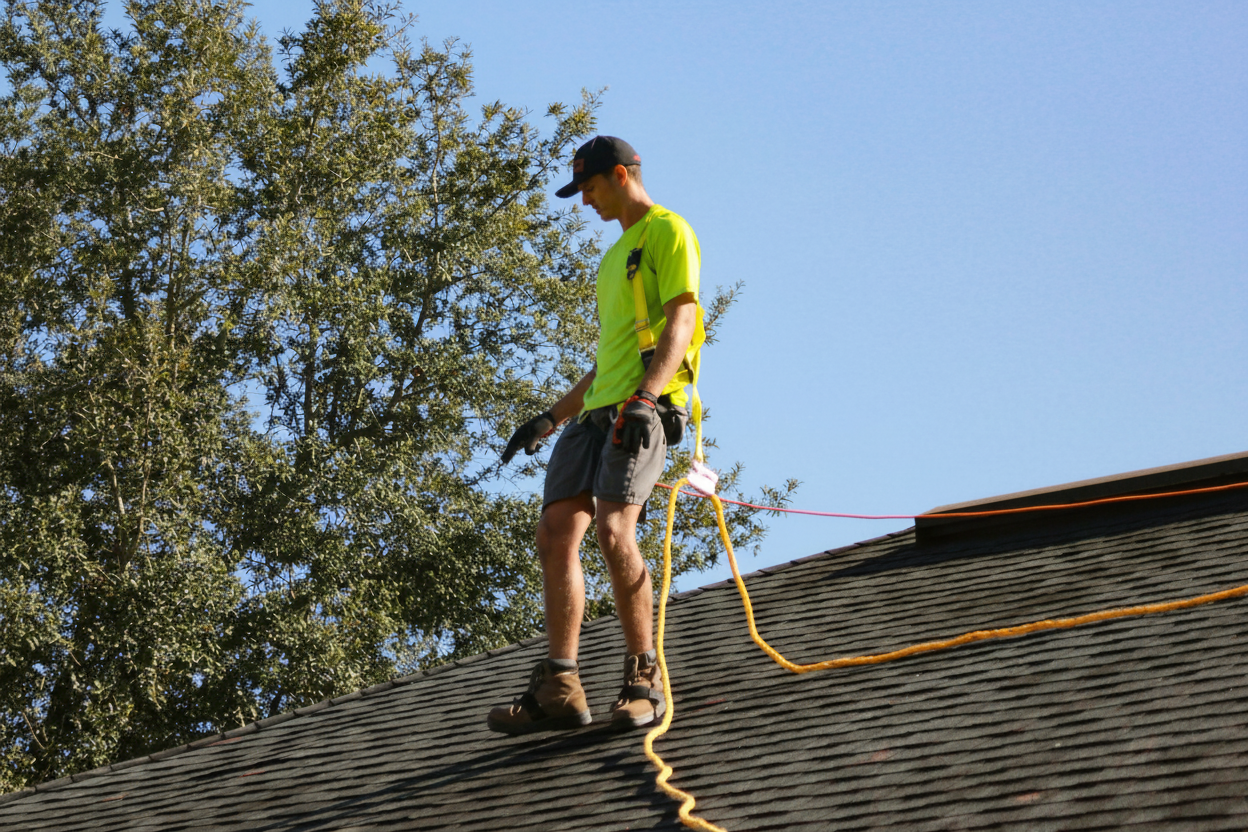
Step 1: Inspect your roof regularly
Start with a visual inspection from the ground using binoculars. Look for missing, cracked, or curling shingles. Check for loose or damaged flashing around chimneys, vents, and skylights. Spot any algae or moss growth, which signals trapped moisture.
- Examine gutters for shingle granules, a sign your asphalt shingles are aging
- Note any sagging areas or uneven surfaces
- Schedule professional inspections annually for a thorough assessment
If you’re considering an upgrade, explore options like impact-resistant shingles or hurricane-rated shingles for added durability.
Step 2: Clear debris from your roof
Leaves, branches, and twigs trap moisture and accelerate shingle wear. Use a broom or leaf blower to remove debris from the roof surface and gutters.
- Trim overhanging branches to prevent damage during storms
- Clean gutters and downspouts to ensure proper drainage
- Remove debris after every major storm
Clogged gutters can cause water to back up under shingles, leading to rot and leaks in your roof deck and interior walls.
Clogged gutters are one of the leading causes of premature roof failure, accounting for nearly 30% of water damage claims.
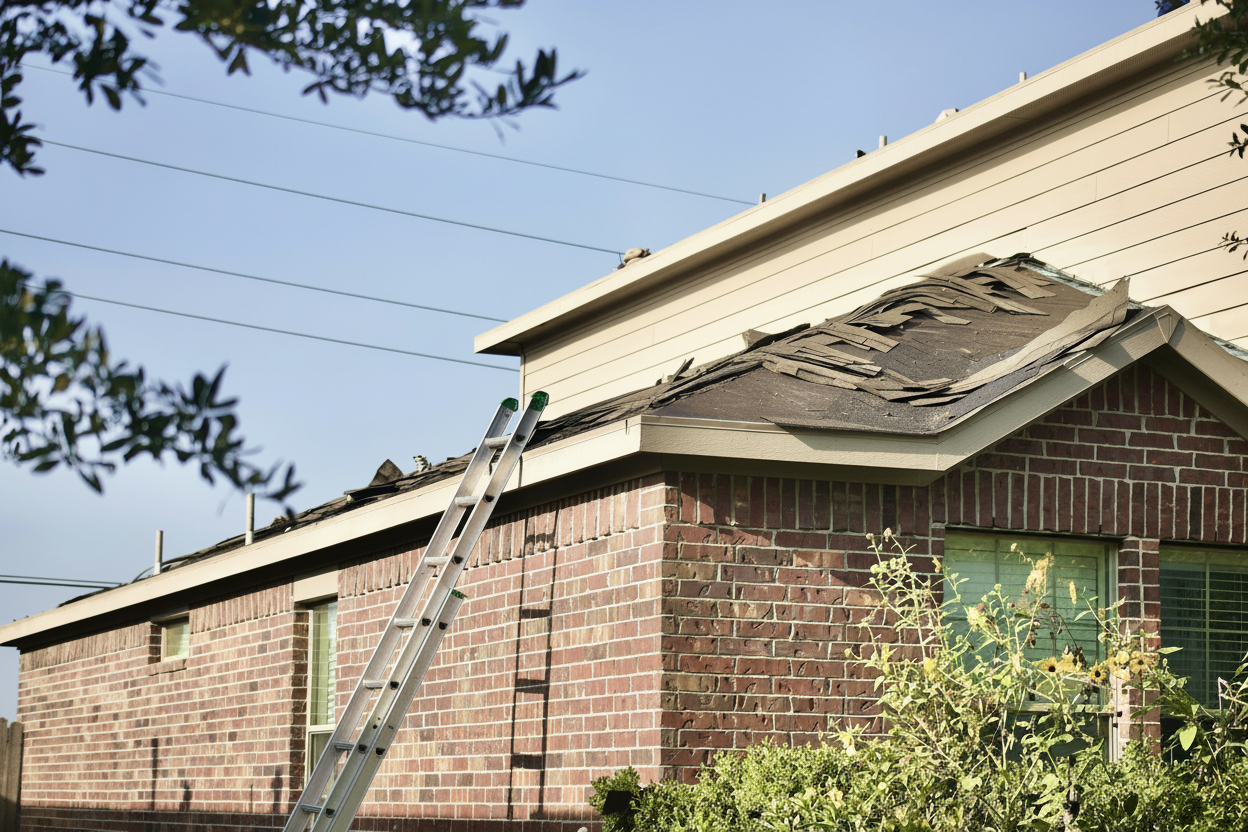
Step 3: Repair damaged shingles promptly
Address damaged or missing shingles immediately to prevent water infiltration. Use roofing cement to secure loose shingles. Replace cracked or missing ones with matching materials.
- Apply roofing cement under curled shingles with a putty knife
- Match the color and style when replacing shingles
- Consider upgrading to Class 4 shingles for better impact resistance
Step 4: Seal flashing and vent boots
Flashing around chimneys, vents, and skylights is a common leak point. Inspect for cracks, gaps, or rust. Apply roofing caulk or sealant to create a watertight seal.
| Component | Inspection Focus | Repair Action |
|---|---|---|
| Chimney flashing | Cracks, gaps, rust | Reseal or replace |
| Vent boots | Rubber deterioration | Apply sealant or replace |
| Skylight flashing | Gaps around edges | Caulk and reseal |
| Valley flashing | Corrosion, separation | Reseal or professional repair |
Alt text: Roofer removing leaves and debris during shingle roof maintenance service
Step 5: Remove algae and moss growth
Dark streaks and moss don’t just look bad; they hold moisture and damage shingles over time. Proper cleaning can prevent black streaks on your roof and extend shingle life.
- Mix equal parts water and bleach in a pump sprayer
- Apply to affected areas and let sit for 15 to 20 minutes
- Rinse thoroughly with water
- Consider zinc or copper strips to prevent future growth
Step 6: Check attic ventilation
Proper ventilation prevents heat and moisture buildup that can warp shingles and rot the roof deck. Check that attic vents and exhaust fans are clear and functioning.
- Install ridge vents or attic fans if needed
- Clear vents of insulation or debris
- Ensure balanced intake and exhaust airflow
Step 7: Schedule professional inspections
While DIY maintenance is valuable, a professional roofer can spot hidden issues you might miss. Schedule annual inspections to catch problems early.
- Hire a licensed contractor for comprehensive assessments
- Address issues identified during inspections promptly
- Keep records of all inspections and repairs
If you’re planning a larger project, understanding how to measure a roof for shingles and where to nail shingles can help you communicate effectively with contractors.
Protect your home with proactive roof care
Regular shingle roof maintenance is the best way to protect your home and maximize your roof’s lifespan. By following this seven-step checklist, you’ll catch small issues before they become expensive problems. A little effort now saves you time, money, and stress later.
Whether you’re maintaining architectural shingles or considering an upgrade to more durable materials, staying proactive keeps your roof performing at its best. Start with these simple steps today and enjoy years of reliable protection overhead.
Frequently Asked Questions
How often should I inspect my shingle roof?
What are the signs my roof needs immediate maintenance?
Can I perform roof maintenance myself or should I hire a professional?
