


How to Shingle a Roof: Complete DIY Installation Guide for 2026
Installation & Care
October 15,2025
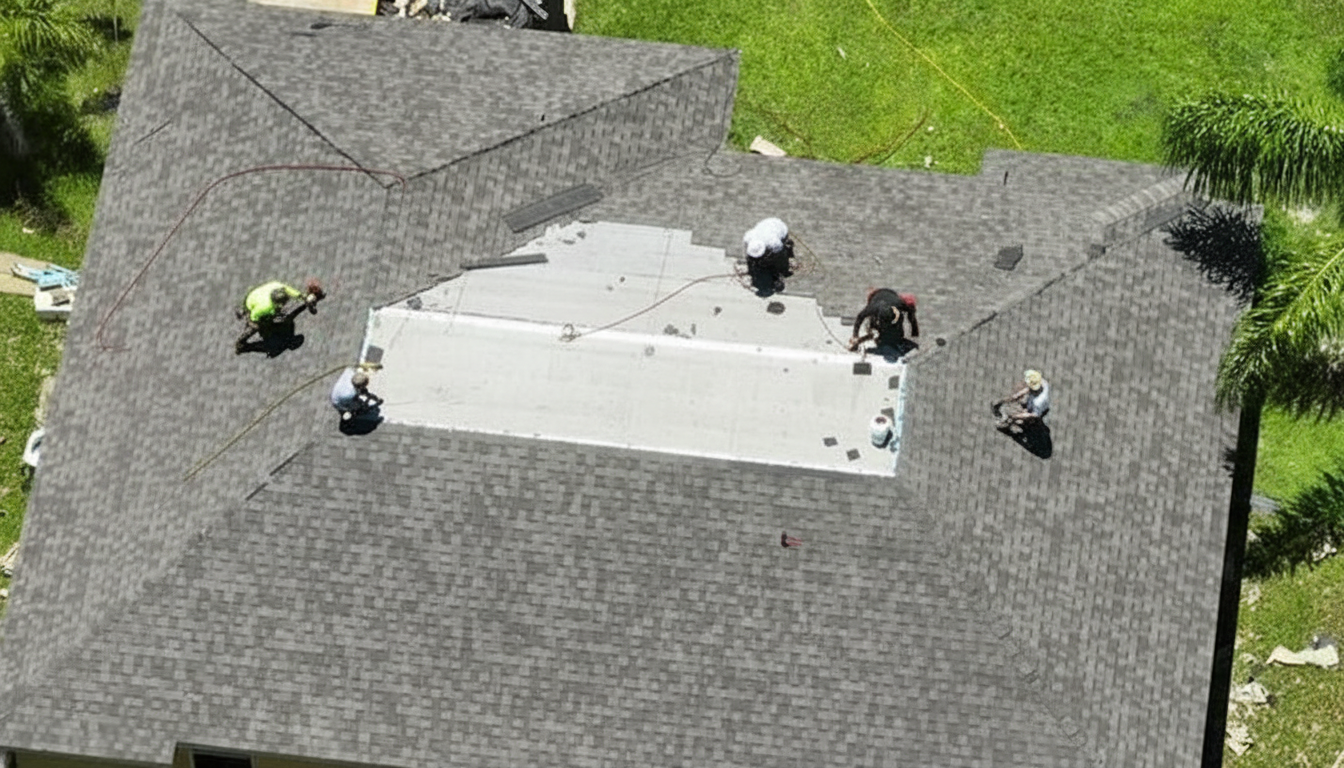
Alt text: Professional roofers working together to install asphalt shingles on a residential roof
Installing roof shingles yourself can save thousands of dollars while giving you hands-on control over your home’s most critical protective barrier. Whether you’re tackling a repair or a full roof replacement, this guide walks you through every step of the shingling process with professional-grade techniques you can master.
Installing shingles correctly protects your home from water damage for 20-30 years. Take your time with each step to ensure lasting results.
Understanding roof shingle installation basics
Before you climb onto your roof, you need to understand what makes a successful shingle installation. The process involves more than just nailing down rows of shingles. You’re creating a layered water management system that directs moisture away from vulnerable areas.
Proper preparation makes the difference between a roof that lasts decades and one that fails within years. Your roof deck must be clean, dry, and structurally sound. Any soft spots or damaged areas need repair before you install a single shingle. The underlayment acts as your second line of defense against water intrusion, so don’t skip this critical step.
When selecting materials, consider your climate and roof pitch. Impact resistant shingles offer superior protection in areas prone to hail damage. For Florida homeowners, hurricane-rated shingles provide essential wind resistance during storm season.
Step-by-step shingle installation process
Now that you understand the fundamentals, let’s walk through the actual installation. Each phase builds on the previous one, so follow these steps in order.
Prepare your roof surface
Start by removing all debris, old shingles, and loose materials from your roof deck. Sweep thoroughly and inspect every square foot for damage. Replace any rotten or weakened decking boards. A stable foundation prevents future problems like sagging or shingle failure.
Install drip edge along the eaves before laying underlayment. This metal flashing directs water into your gutters and protects the roof edges from moisture damage.
Install underlayment protection
Roll out your underlayment starting at the lowest point of your roof. Work horizontally across the roof, overlapping each row by 6 inches. Secure the underlayment with cap nails or staples every 12 inches along the edges and 24 inches in the field.
For enhanced protection in vulnerable areas like valleys and around ridge cap shingles, use self-adhering membrane underlayment. This extra step prevents ice dams and wind-driven rain from penetrating your roof system.
Most roof leaks start at transitions and penetrations. Pay extra attention to underlayment installation around chimneys, vents, and skylights.
Begin laying shingles
Start your first course at the bottom edge of the roof. Apply roofing cement along the eave edge, then position your starter strip. This first row should overhang the drip edge by about half an inch to ensure proper water runoff.
Work from left to right (or right to left, whichever feels more natural). Each shingle should align with the one below it, with the tabs covering the nails from the previous course. Understanding where to nail shingles prevents common installation mistakes that lead to blow-offs.
Nail shingles correctly
Proper nailing technique determines how well your shingles withstand wind and weather. Place four nails per shingle for standard three-tab shingles, or six nails for architectural shingles in high-wind areas.
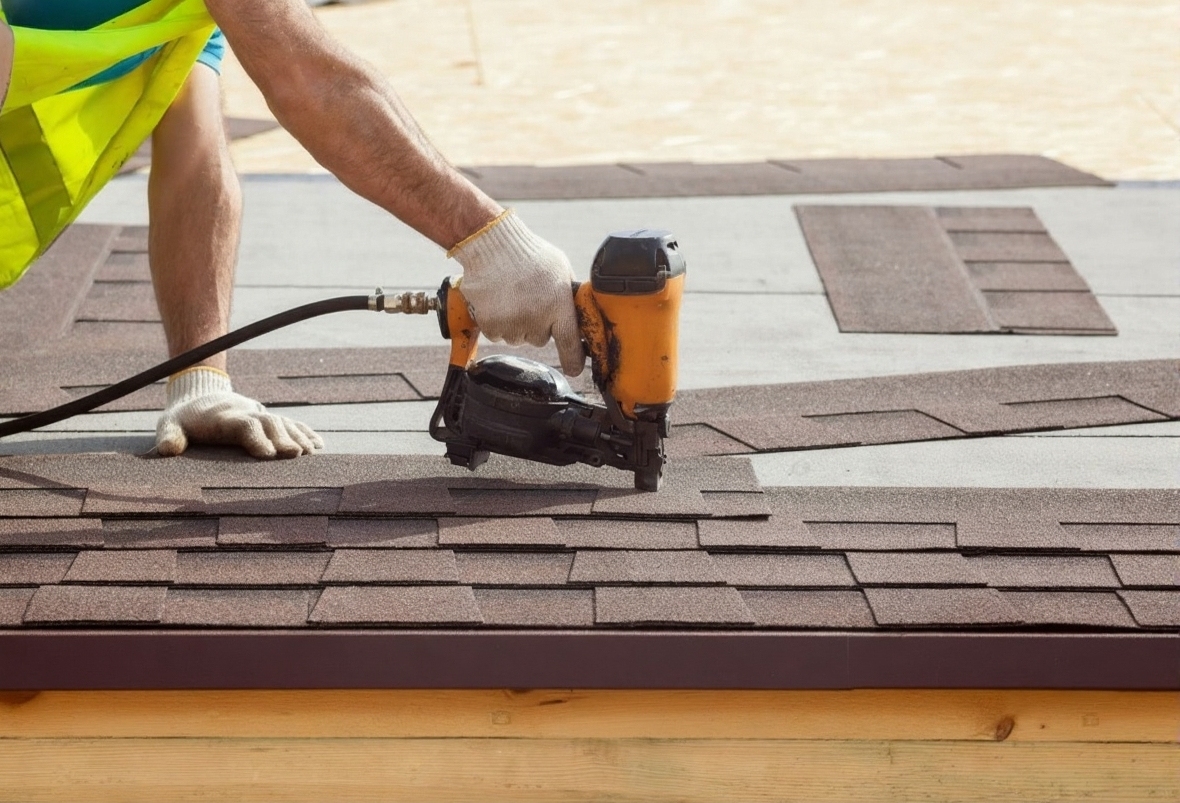
Alt text: Roofer using nail gun to properly secure roof shingles during installation
Position nails just below the adhesive strip, typically about 5-6 inches from the bottom edge. Drive nails straight and flush with the shingle surface. Overdriven nails tear the shingle material, while underdriven nails create bumps that prevent proper sealing.
| Shingle Type | Nails Per Shingle | Placement |
|---|---|---|
| 3-Tab | 4 | 5.5″ from bottom |
| Architectural | 4-6 | Per manufacturer specs |
| Hip/Ridge | 2 per side | 1″ from edge |
Cut and fit around obstacles
You’ll need to cut shingles to fit around vents, chimneys, and other roof penetrations. Use a sharp utility knife and a straight edge for clean cuts. Measure twice before cutting to avoid waste.
Stagger your shingle joints by at least 6 inches from row to row. This offset pattern strengthens your roof and creates the distinctive dimensional look of quality installation. When installing architectural shingles, follow the manufacturer’s offset requirements for optimal performance.
Finish with ridge caps and sealing
Complete your installation by applying ridge cap shingles along all peaks and hips. These specially designed shingles bend to conform to angles while providing critical protection at roof intersections. Seal any exposed nail heads with roofing cement to prevent water intrusion.
Walk your completed roof and inspect for any loose shingles, missed nails, or gaps in coverage. Address issues immediately rather than waiting for the first rainstorm to reveal problems.
After installation, your shingles need time to seal properly. The adhesive strips require heat and sunlight to bond. Avoid walking on your new roof for at least two weeks.
Maintenance tips for long-lasting shingle roofs
Your work doesn’t end when the last shingle goes down. Regular maintenance extends the life of your roof and protects your investment. Follow a shingle roof maintenance checklist at least twice per year.
Inspect your roof after major storms for damage. Look for lifted shingles, missing granules, or exposed underlayment. Catching small problems early prevents expensive repairs later. Understanding granule loss helps you identify when repair or replacement becomes necessary.
Keep gutters clean and ensure proper attic ventilation. Both factors significantly impact how long shingles last on your specific roof. Trim overhanging branches to prevent algae growth and reduce debris accumulation.
Choosing quality materials for your roof
The shingles you select directly impact your roof’s performance and longevity. Research the best roof shingles available for your climate and budget. Class 4 shingles offer the highest impact resistance, potentially qualifying you for insurance discounts.
Consider both function and aesthetics when selecting shingle colors. GAF shingle colors and Owens Corning shingle colors offer extensive palettes that complement any home style while providing proven durability.
Before starting your project, measure your roof for shingles accurately to order the correct quantity. Add 10% extra for waste and cuts. Running short of materials mid-project costs more in delivery fees and delays than ordering sufficient materials upfront.
FAQ
How many shingles do I need for my roof?
Can I install shingles over existing shingles?
What weather conditions are best for installing shingles?
