Roof Inspection For Insurance Claims: Homeowner’s Guide 2025
Inspection & Repair
Roof Maintenance
October 19,2025
Roof inspection for insurance claims: Homeowner’s guide 2025

Alt text: Professional roof inspector examining damaged roof shingles while discussing findings with homeowner for insurance claim documentation
Navigating roof insurance claims can feel overwhelming, especially when you’re dealing with storm damage or wear and tear. A proper roof inspection is your first step toward securing the coverage you deserve. This guide walks you through everything you need to know about getting a roof inspection for insurance purposes, so you can protect your home and your investment with confidence.
Key insight: Most insurance claims are denied due to inadequate documentation. A professional roof inspection provides the evidence you need to support your claim and maximize your coverage.
Why roof inspections matter for insurance coverage
Your roof protects everything inside your home, but it takes a beating from weather, age, and environmental factors. Insurance inspections serve as your proof when damage occurs, helping you document issues and secure proper coverage.
A thorough inspection ensures your insurance company has accurate information about your roof’s condition. Without this documentation, you risk claim denials or reduced payouts. Professional inspectors identify hidden damage that you might miss, from subtle water infiltration to compromised structural elements.
Regular inspections also help you stay ahead of problems. When you schedule periodic roof maintenance, you create a documented history that strengthens future insurance claims. This proactive approach shows insurers you’ve taken reasonable care of your property.
When to schedule your roof inspection
Timing matters when it comes to roof inspections for insurance. Certain situations demand immediate attention, while others benefit from routine scheduling.
Action tip: Schedule an inspection within 48 hours of severe weather events. This creates a clear timeline connecting the damage to a specific incident, which strengthens your insurance claim.
Here are the critical times to get your roof inspected:
After storm events
Hailstorms, high winds, and heavy rain can cause immediate damage. Even if you don’t see obvious problems, hidden issues may exist. Getting a professional inspection after severe weather documents the condition of your roof right after the event.
Before policy renewal
Many insurance companies now require roof inspections before renewing policies, especially in areas prone to severe weather. Stay ahead by scheduling your inspection before renewal time approaches.
When buying or selling
A pre-purchase inspection protects buyers from inheriting roof problems. For sellers, a recent inspection report demonstrates transparency and can speed up the transaction process.
Every 3 to 5 years
Routine inspections catch small issues before they become expensive problems. This regular maintenance creates documentation that proves you’ve been a responsible homeowner, which insurers value.
What happens during an insurance roof inspection
Understanding the inspection process helps you prepare and know what to expect. Professional inspectors follow a systematic approach to evaluate your roof thoroughly.
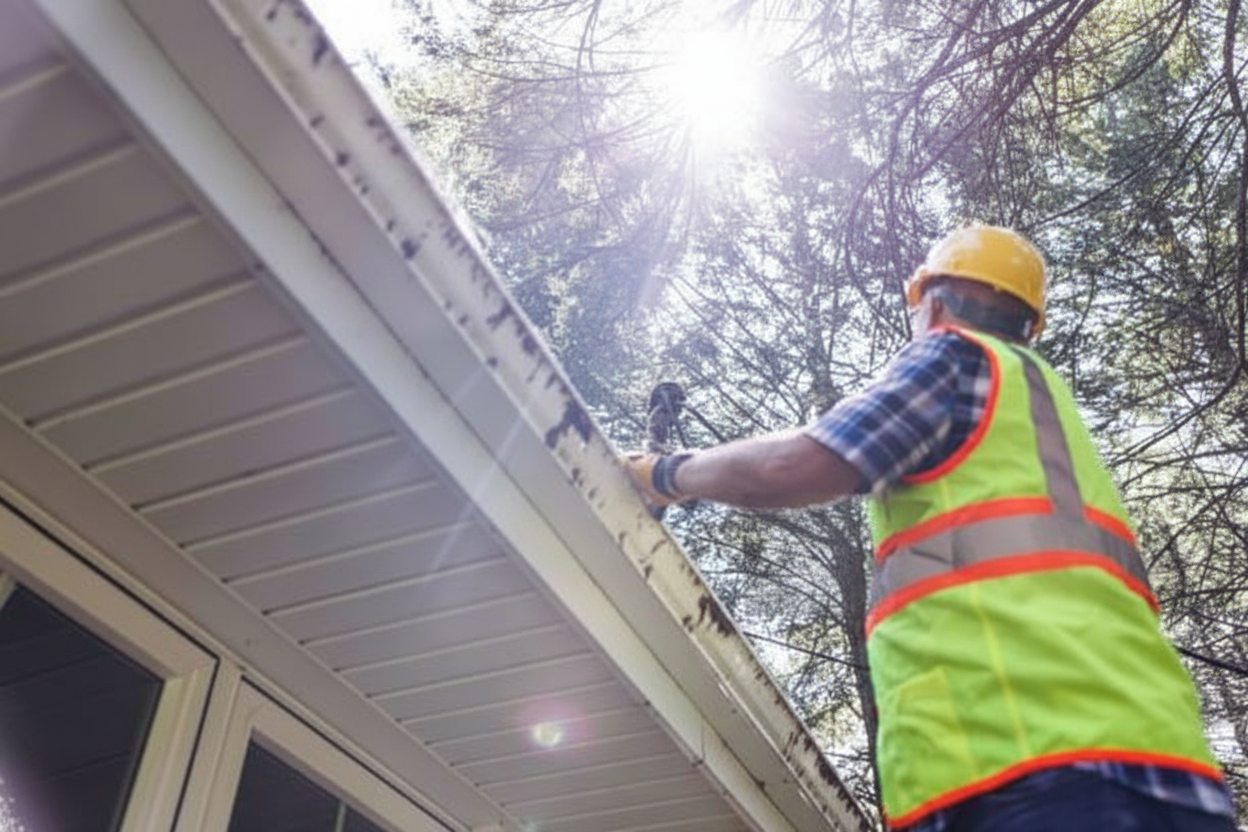
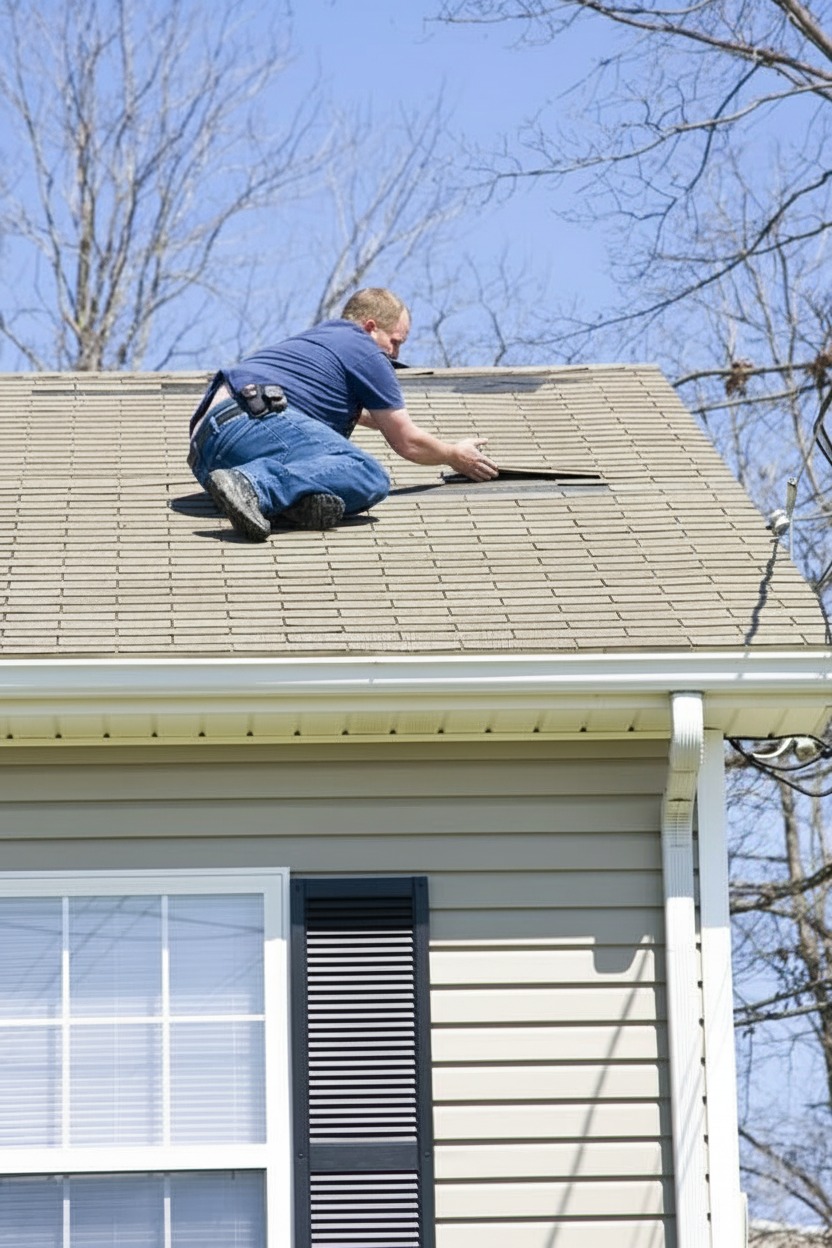
Exterior assessment
Inspectors examine all visible components of your roof system. They check shingles for damage, curling, or missing pieces. They evaluate flashing around chimneys, vents, and skylights. Gutters and downspouts get inspected for proper function and signs of granule loss from shingles.
The inspector also looks at the overall roof structure for sagging or uneven areas that might indicate underlying problems. They document everything with photos and detailed notes.
Interior evaluation
Your attic reveals crucial information about roof health. Inspectors check for water stains, mold growth, and adequate ventilation. Poor ventilation can void insurance coverage in some cases, so this step is essential.
They also assess insulation levels and look for daylight coming through the roof deck, which indicates holes or gaps that need attention.
Alt text: Insurance adjuster carefully documenting roof damage with clipboard and camera for accurate claim assessment
Documentation and reporting
After the inspection, you receive a detailed report with photos, findings, and recommendations. This report becomes your evidence when filing claims. Keep copies in a safe place and provide them to your insurance company when needed.
If you need guidance on what inspectors look for, check out this comprehensive roof inspection checklist to understand the process better.
Preparing for your inspection and next steps
Proper preparation ensures a smooth inspection process and accurate results. Take these steps before the inspector arrives:
Clear debris and provide access
Remove leaves, branches, and other debris from your roof. Ensure the inspector can safely access your attic, garage, and any crawl spaces. Clear the area around your home so they can examine all sides of the roof.
Gather your documentation
Collect previous inspection reports, maintenance records, and any documentation of repairs. This history helps inspectors understand your roof’s timeline and can support your insurance claim.
Know your coverage
Review your insurance policy before the inspection. Understanding your coverage limits and deductibles helps you ask better questions and know what to expect from the claims process.
| Inspection type | Typical cost | Timeline | Best for |
|---|---|---|---|
| Basic visual | $75 to $200 | 1 to 2 hours | Routine checks |
| Detailed assessment | $200 to $500 | 2 to 4 hours | Insurance claims |
| Infrared scan | $400 to $800 | 3 to 5 hours | Hidden damage |
| Emergency inspection | $300 to $600 | Same day | Storm damage |
Important note: If repairs are needed, don’t delay. Quick action prevents further damage and shows your insurance company you’re mitigating losses, which is often required under policy terms.
After receiving your inspection report, review it carefully with the inspector. Ask questions about any findings you don’t understand. If significant roof repairs are recommended, get multiple quotes from licensed contractors.
Contact your insurance company promptly to discuss findings and start the claims process if needed. Keep detailed records of all communications, including dates, times, and the names of representatives you speak with.
For minor issues, you might consider DIY roof repairs, but always consult with professionals for major damage or if you’re unsure about the scope of work needed.