
Quick Roof Patch Guide For Homeowners In 2025
Inspection & Repair
Roof Maintenance
November 11,2025
Quick roof patch guide for homeowners in 2025
Alt text: Homeowner inspecting damaged roof shingles from ladder wearing safety gear
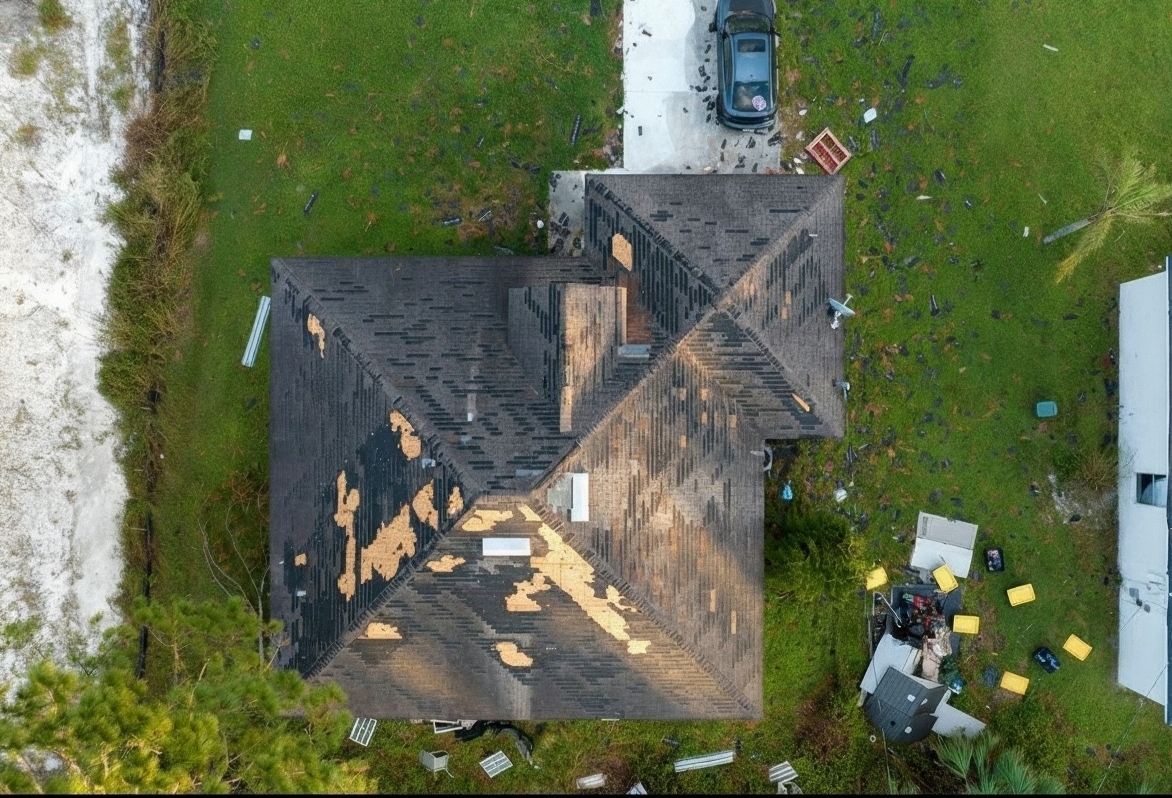
Roof damage can escalate quickly if you ignore early warning signs. A small leak today can become a major structural problem tomorrow, costing you thousands in repairs. Whether you are dealing with missing shingles, storm damage, or general wear and tear, knowing how to patch your roof properly protects your home and saves money.
Small roof repairs completed within 48 hours of damage discovery can prevent up to 80% of secondary water damage issues.
This guide walks you through everything you need to know about roof patching, from identifying damage to completing quick repairs. You will learn when to tackle repairs yourself and when to call professionals.
Why immediate roof patching prevents costly damage
Your roof shields your home from rain, wind, sun, and snow. Even minor damage creates entry points for water and pests. Here is why patching matters:
Delayed repairs allow water to seep into your attic, insulation, and walls. This moisture creates perfect conditions for mold growth and wood rot. Water damage spreads quickly through building materials, affecting areas far from the original leak.
Energy costs rise when damaged roofing allows air to escape. Your HVAC system works harder to maintain comfortable temperatures, driving up monthly bills. Proper patching restores your home’s thermal barrier.
Small patches cost hundreds of dollars. Full roof replacements cost thousands. Acting quickly on minor damage prevents expensive emergency repairs down the road. Regular roof maintenance and inspection helps you catch problems early.
Essential steps for effective roof patching
Patching a roof requires careful preparation and the right approach. Follow these steps for repairs that last:
Assess damage thoroughly before starting
Walk around your property and examine your roof from ground level. Look for missing, cracked, or curling shingles. Check areas around chimneys, vents, and skylights where leaks commonly start.
Inspect your attic for water stains, damp insulation, or light coming through the roof deck. These signs reveal hidden damage. Take photos to document problem areas. Understanding signs you need a roof inspection helps you evaluate severity.
Gather proper tools and materials
Successful repairs require preparation. Collect these items before climbing onto your roof:
- Replacement shingles matching your existing roof
- Roofing nails or heavy-duty adhesive
- Roofing tar or flexible sealant
- Utility knife for precise cuts
- Hammer or staple gun
Safety equipment matters just as much as repair materials. Wear non-slip shoes, heavy-duty gloves, and use a stable ladder. Consider a safety harness for steep roofs.
Prepare the damaged area properly
Clean debris, dirt, and loose materials from the repair site. Remove damaged shingles carefully to avoid harming surrounding materials. Pull out old nails and scrape away dried adhesive.
A clean, smooth surface ensures strong adhesion. Your patch will only perform as well as the surface beneath it. Check surrounding shingles for hidden damage while preparing the area.
Apply roofing tar correctly
Spread roofing tar evenly across the exposed area using a trowel. Cover the entire damaged section plus one inch beyond the edges. Pay special attention to seams where water might penetrate.
Quality sealant creates a waterproof barrier that protects your home. Avoid applying tar in extreme temperatures, which affects adhesion. Work during mild weather for best results.
Install replacement shingles securely
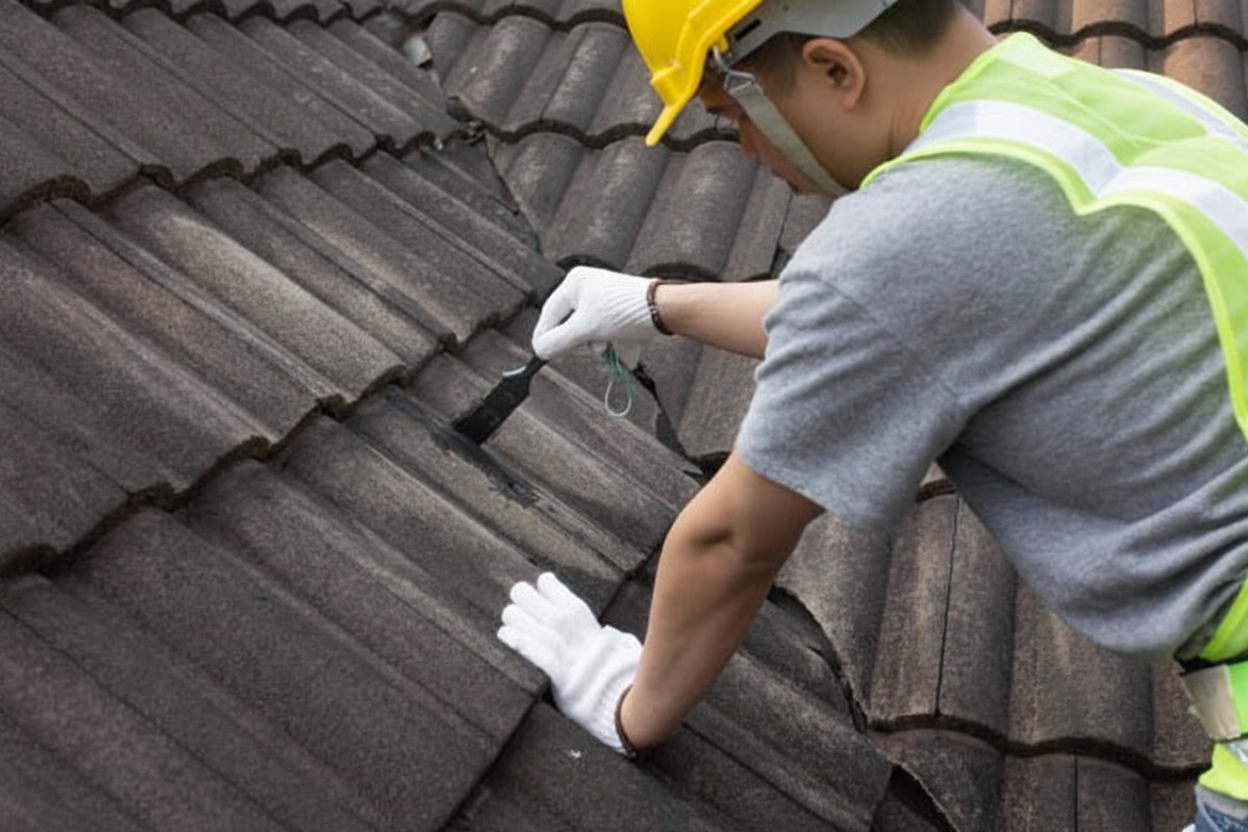
Alt text: Roofer applying roof patch sealant to damaged shingles with proper tools
Cut replacement shingles to fit the damaged area precisely. Align new shingles with existing ones to maintain your roof’s appearance and function. Press firmly into the tar to ensure good contact.
Secure shingles with roofing nails at each corner. Drive nails flush with the surface without breaking through. Proper installation prevents wind from lifting shingles during storms. Learning about DIY roof repair techniques helps you understand when professional help is needed.
Seal edges and seams thoroughly
Apply sealant along all edges of your new shingle. Cover gaps where the replacement meets existing shingles. This step prevents water infiltration at vulnerable joints.
Use your trowel to smooth sealant into a uniform layer. Proper sealing extends the life of your repair significantly. This protective barrier handles rain, snow, and temperature changes.
Inspect completed work carefully
Examine your repair from multiple angles. Look for gaps, loose edges, or areas needing additional sealant. Address any issues immediately while materials are accessible.
Consider having a professional verify your work if you are uncertain. Small mistakes can lead to future leaks. Quality inspection ensures your repair protects your home effectively.
Maintaining your roof after patching
Completing a patch is just the beginning. Ongoing maintenance prevents future damage and extends your roof’s lifespan.
Inspect your roof twice yearly, typically in spring and fall. Check after severe weather events too. Early detection of problems saves money and prevents extensive damage. Regular commercial roof maintenance principles apply to residential properties as well.
Clean gutters regularly to prevent water backup. Clogged gutters cause water to pool on your roof, leading to leaks and rot. Proper drainage is essential for roof health. Understanding what to do during emergency roof repairs prepares you for unexpected problems.
Trim tree branches hanging over your roof. Branches scrape shingles during wind and drop debris that clogs gutters. Falling branches cause serious damage during storms.
When to call professionals
Some situations require expert help. Consider professional service when:
| Situation | DIY Approach | Professional Needed |
|---|---|---|
| Single damaged shingle | Usually suitable | Consider for steep roofs |
| Multiple damaged areas | Not recommended | Yes, for thorough assessment |
| Active leaks | Temporary fixes only | Yes, for permanent solution |
| Structural damage | Never attempt | Always required |
Foxhaven provides expert roofing services when repairs exceed DIY capabilities. Professional roofers have specialized equipment, training, and experience for complex repairs. They also identify underlying issues you might miss. Getting accurate roof repair cost estimates helps you budget appropriately.
Common roof patching mistakes to avoid
Even experienced homeowners make mistakes during roof repairs. Avoid these common errors:
Using mismatched materials weakens repairs. Match shingle color, style, and quality to your existing roof. Mismatched repairs look unprofessional and may fail prematurely.
Skipping safety precautions leads to injuries. Roof work involves serious fall risks. Always use proper safety equipment and work with a partner when possible.
Ignoring weather conditions affects repair quality. Avoid working in rain, extreme heat, or freezing temperatures. These conditions prevent proper adhesion and create dangerous working conditions. Understanding Florida roof maintenance challenges helps you plan repairs appropriately.
Rushing through repairs creates future problems. Take time to prepare surfaces properly, apply materials correctly, and inspect your work thoroughly. Quality repairs last for years.
Neglecting underlying damage wastes time and money. If you discover rot, mold, or structural issues during patching, address these problems first. Surface repairs over damaged substrate will fail quickly. Knowing whether to repair or replace your roof helps you make informed decisions.