
How to Repair a Tile Roof Leak: Stop Water Damage in 6 Steps
Maintenance & Repair
Tile Roofing Installation
October 14,2025
How to repair a tile roof leak: stop water damage in 6 steps
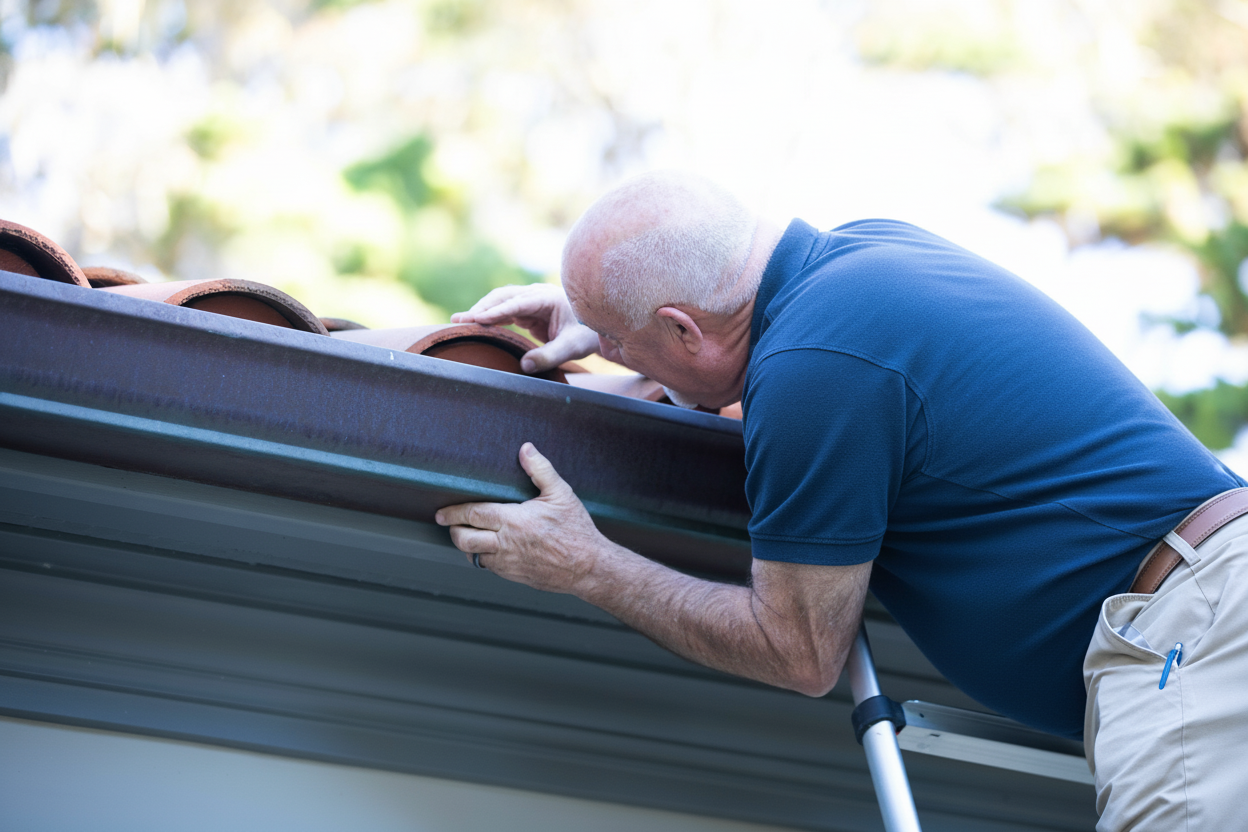
Alt text: Professional roofer inspecting damaged tile roof with homeowner looking on during leak detection
When water starts seeping through your tile roof, you face more than just a minor inconvenience. A leak can quickly escalate into serious structural damage, mold growth, and costly repairs that affect your entire home. Understanding how to address tile roof leaks properly can save you thousands of dollars and protect your property from long-term damage.
Quick action matters: Most tile roof leaks worsen rapidly during rain seasons. Addressing the issue within 24-48 hours can prevent secondary damage like ceiling stains, insulation deterioration, and wood rot.
This guide covers everything you need to know about tile roof leak repair, from identifying early warning signs to implementing effective solutions. Whether you handle minor repairs yourself or need professional help, you will learn the essential steps to protect your home.
Recognizing the warning signs of tile roof leaks
Spotting a leak early makes all the difference between a simple fix and expensive restoration work. Your roof often signals problems before water appears inside your home.
Water stains on ceilings or walls serve as the most obvious indicator that moisture has penetrated your roofing system. These discolored patches typically appear as yellow or brown rings and suggest water has been infiltrating for some time. If you notice active dripping, the situation requires immediate attention since it indicates a significant breach in your roof’s protective barrier.
Inspection tip: Walk around your property and look up at your roof line during daylight hours. Missing tiles leave gaps that expose the underlayment to weather, while cracked or broken tiles compromise the entire roofing system’s integrity.
Physical damage to your tiles creates direct pathways for water entry. You might also spot granule accumulation in gutters, which signals that your tiles are deteriorating faster than normal.
Mold and mildew growth in your attic, on walls, or around ceiling fixtures indicates persistent moisture problems. These organisms thrive in damp environments created by roof leaks and can pose health risks to your family. Regular inspections help you identify signs that repairs are needed before problems escalate.
Your 6-step guide to fixing tile roof leaks
Addressing a tile roof leak requires systematic attention to detail. Follow these steps to stop water intrusion and restore your roof’s protective function.
Step 1: Find the leak source
Start with a thorough roof inspection to pinpoint exactly where water enters. Look for broken, cracked, or displaced tiles that could allow moisture through. Pay special attention to vulnerable areas around chimneys, vents, and skylights where flashing connections often fail.
Your attic provides valuable clues about leak location. Check for wet spots, water stains, mold growth, or moisture trails that lead back to the entry point. Inspecting during or immediately after rainfall helps you trace water pathways more effectively.
Step 2: Apply temporary protection
Once you locate the leak, minimize damage with immediate temporary measures. Cover the affected area with a heavy-duty tarp that extends well beyond the damaged section onto undamaged roof areas. Secure the tarp with nails, roofing tape, or weights to prevent wind from dislodging it.
For smaller leaks, roofing tape can seal the area effectively until you arrange permanent repairs. These temporary fixes prevent additional water intrusion while you prepare for comprehensive restoration.
Safety first: Only attempt roof access in dry conditions with proper safety equipment. If your roof pitch exceeds 6:12 or conditions seem unsafe, contact professionals immediately.
Step 3: Remove damaged tiles carefully
Use a crowbar or specialized tile remover to lift the damaged tile gently. Apply steady, gradual pressure to avoid cracking surrounding tiles. Walking on tile roofs requires specific techniques to prevent accidental damage, so position yourself carefully during this process.
Set the damaged tile aside for disposal. Take photos of the tile arrangement before removal to ensure proper replacement alignment.
Step 4: Inspect and repair the underlayment
After removing the tile, examine the underlayment beneath for tears, holes, or degradation. This waterproof barrier serves as your roof’s critical second line of defense against moisture. Damaged underlayment cannot protect your home effectively, regardless of tile condition.
Patch small tears with roofing cement or replace larger damaged sections entirely. Proper underlayment maintenance extends your tile roof’s overall lifespan significantly.
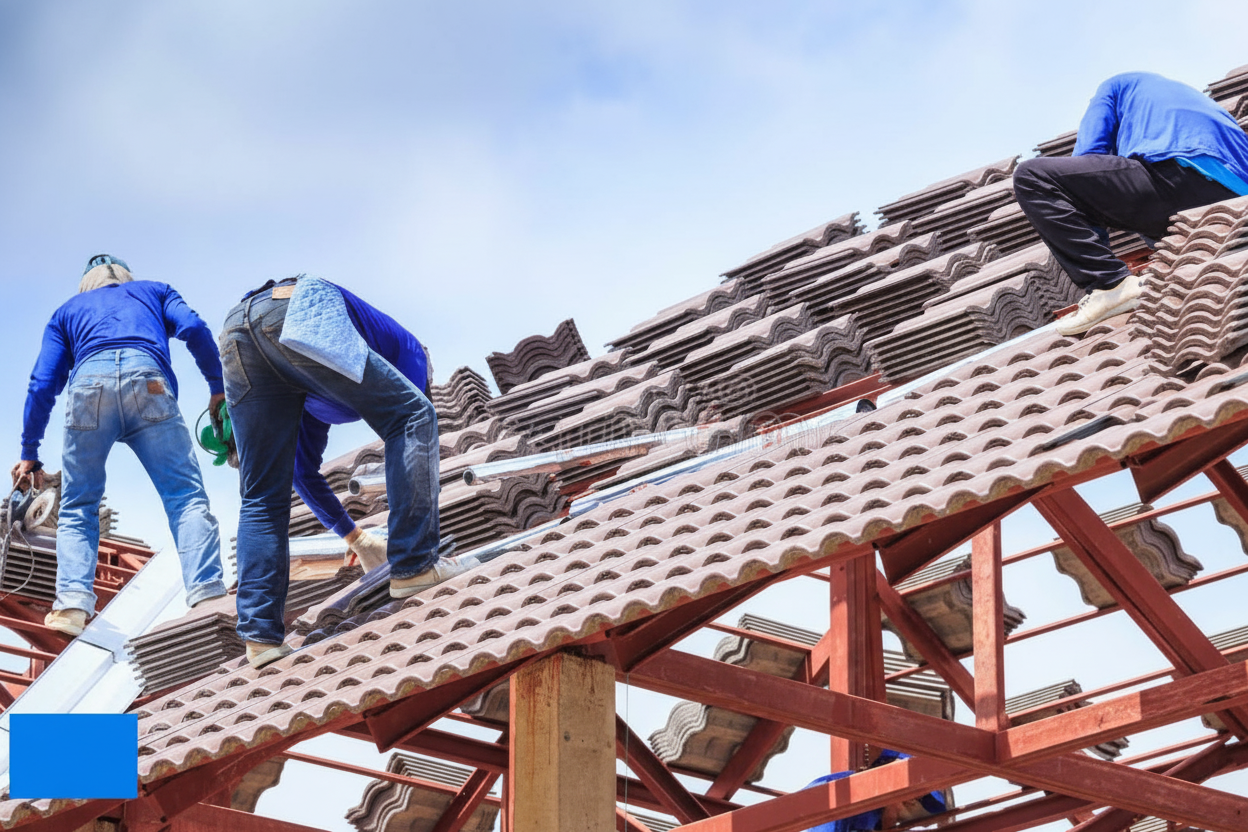
Alt text: Professional roofing team working together to repair damaged tile roof on residential property
Step 5: Install the replacement tile
Select a replacement tile matching your existing roof’s material, size, and design. Position the new tile carefully, ensuring it aligns seamlessly with surrounding tiles. Secure it using roofing adhesive, clips, or fasteners according to manufacturer specifications.
The tile should sit flush with adjacent tiles without gaps or raised edges that could catch wind or allow water infiltration. Different types of tile roofs require specific installation techniques, so follow appropriate methods for your roof style.
Step 6: Schedule professional verification
Even successful DIY repairs benefit from professional inspection. A roofing expert can assess repair quality, identify hidden issues, and check for additional leaks in other roof areas. They can also evaluate structural integrity and recommend preventive measures to avoid future problems.
Preventing future tile roof leaks through maintenance
Regular maintenance prevents most tile roof leaks and extends your roofing system’s functional life. Implementing these practices protects your investment and saves money on emergency repairs.
| Maintenance Task | Frequency | Purpose |
|---|---|---|
| Professional inspection | Annually | Catch minor issues early |
| Gutter cleaning | Twice yearly | Prevent water backup |
| Tree trimming | As needed | Avoid impact damage |
| Broken tile replacement | Immediately | Stop water infiltration |
Schedule annual professional inspections to identify wear, loose tiles, or weak spots before they cause leaks. Trained experts spot problems invisible to untrained eyes and can address issues while they remain minor and inexpensive.
Clean your gutters at least twice yearly to prevent water buildup that can damage tiles and underlayment. Clogged gutters force water to pool and seep under your roofing materials, creating ideal conditions for leaks. Regular tile roof cleaning also removes debris that can trap moisture against tiles.
Trim overhanging tree branches that could break during storms and damage your roof. Falling branches crack tiles and create immediate entry points for water. Keeping trees properly maintained also reduces leaf accumulation in gutters and on roof surfaces.
Replace broken or damaged tiles immediately upon discovery. Each compromised tile represents a potential leak point that will only worsen over time. Quick action prevents minor damage from becoming major problems. Understanding when to consider tile roof replacement helps you make informed decisions about repairs versus full restoration.
Protecting your home from tile roof leaks
Tile roof leaks demand prompt attention to prevent costly water damage and structural issues. By recognizing warning signs early, following proper repair procedures, and maintaining your roof consistently, you protect your home’s value and your family’s comfort.
While minor repairs may suit confident DIY homeowners, complex leaks or extensive damage require professional expertise. At Foxhaven, we understand that your roof represents one of your home’s most critical protective systems. Our experienced team provides reliable tile roof leak repair services tailored to your specific needs.
Whether you need emergency leak repair, routine maintenance, or a comprehensive roof inspection, professional help ensures your repairs last and your home stays protected. Different tile roof materials require specific repair approaches, and our expertise covers all tile roofing systems.