

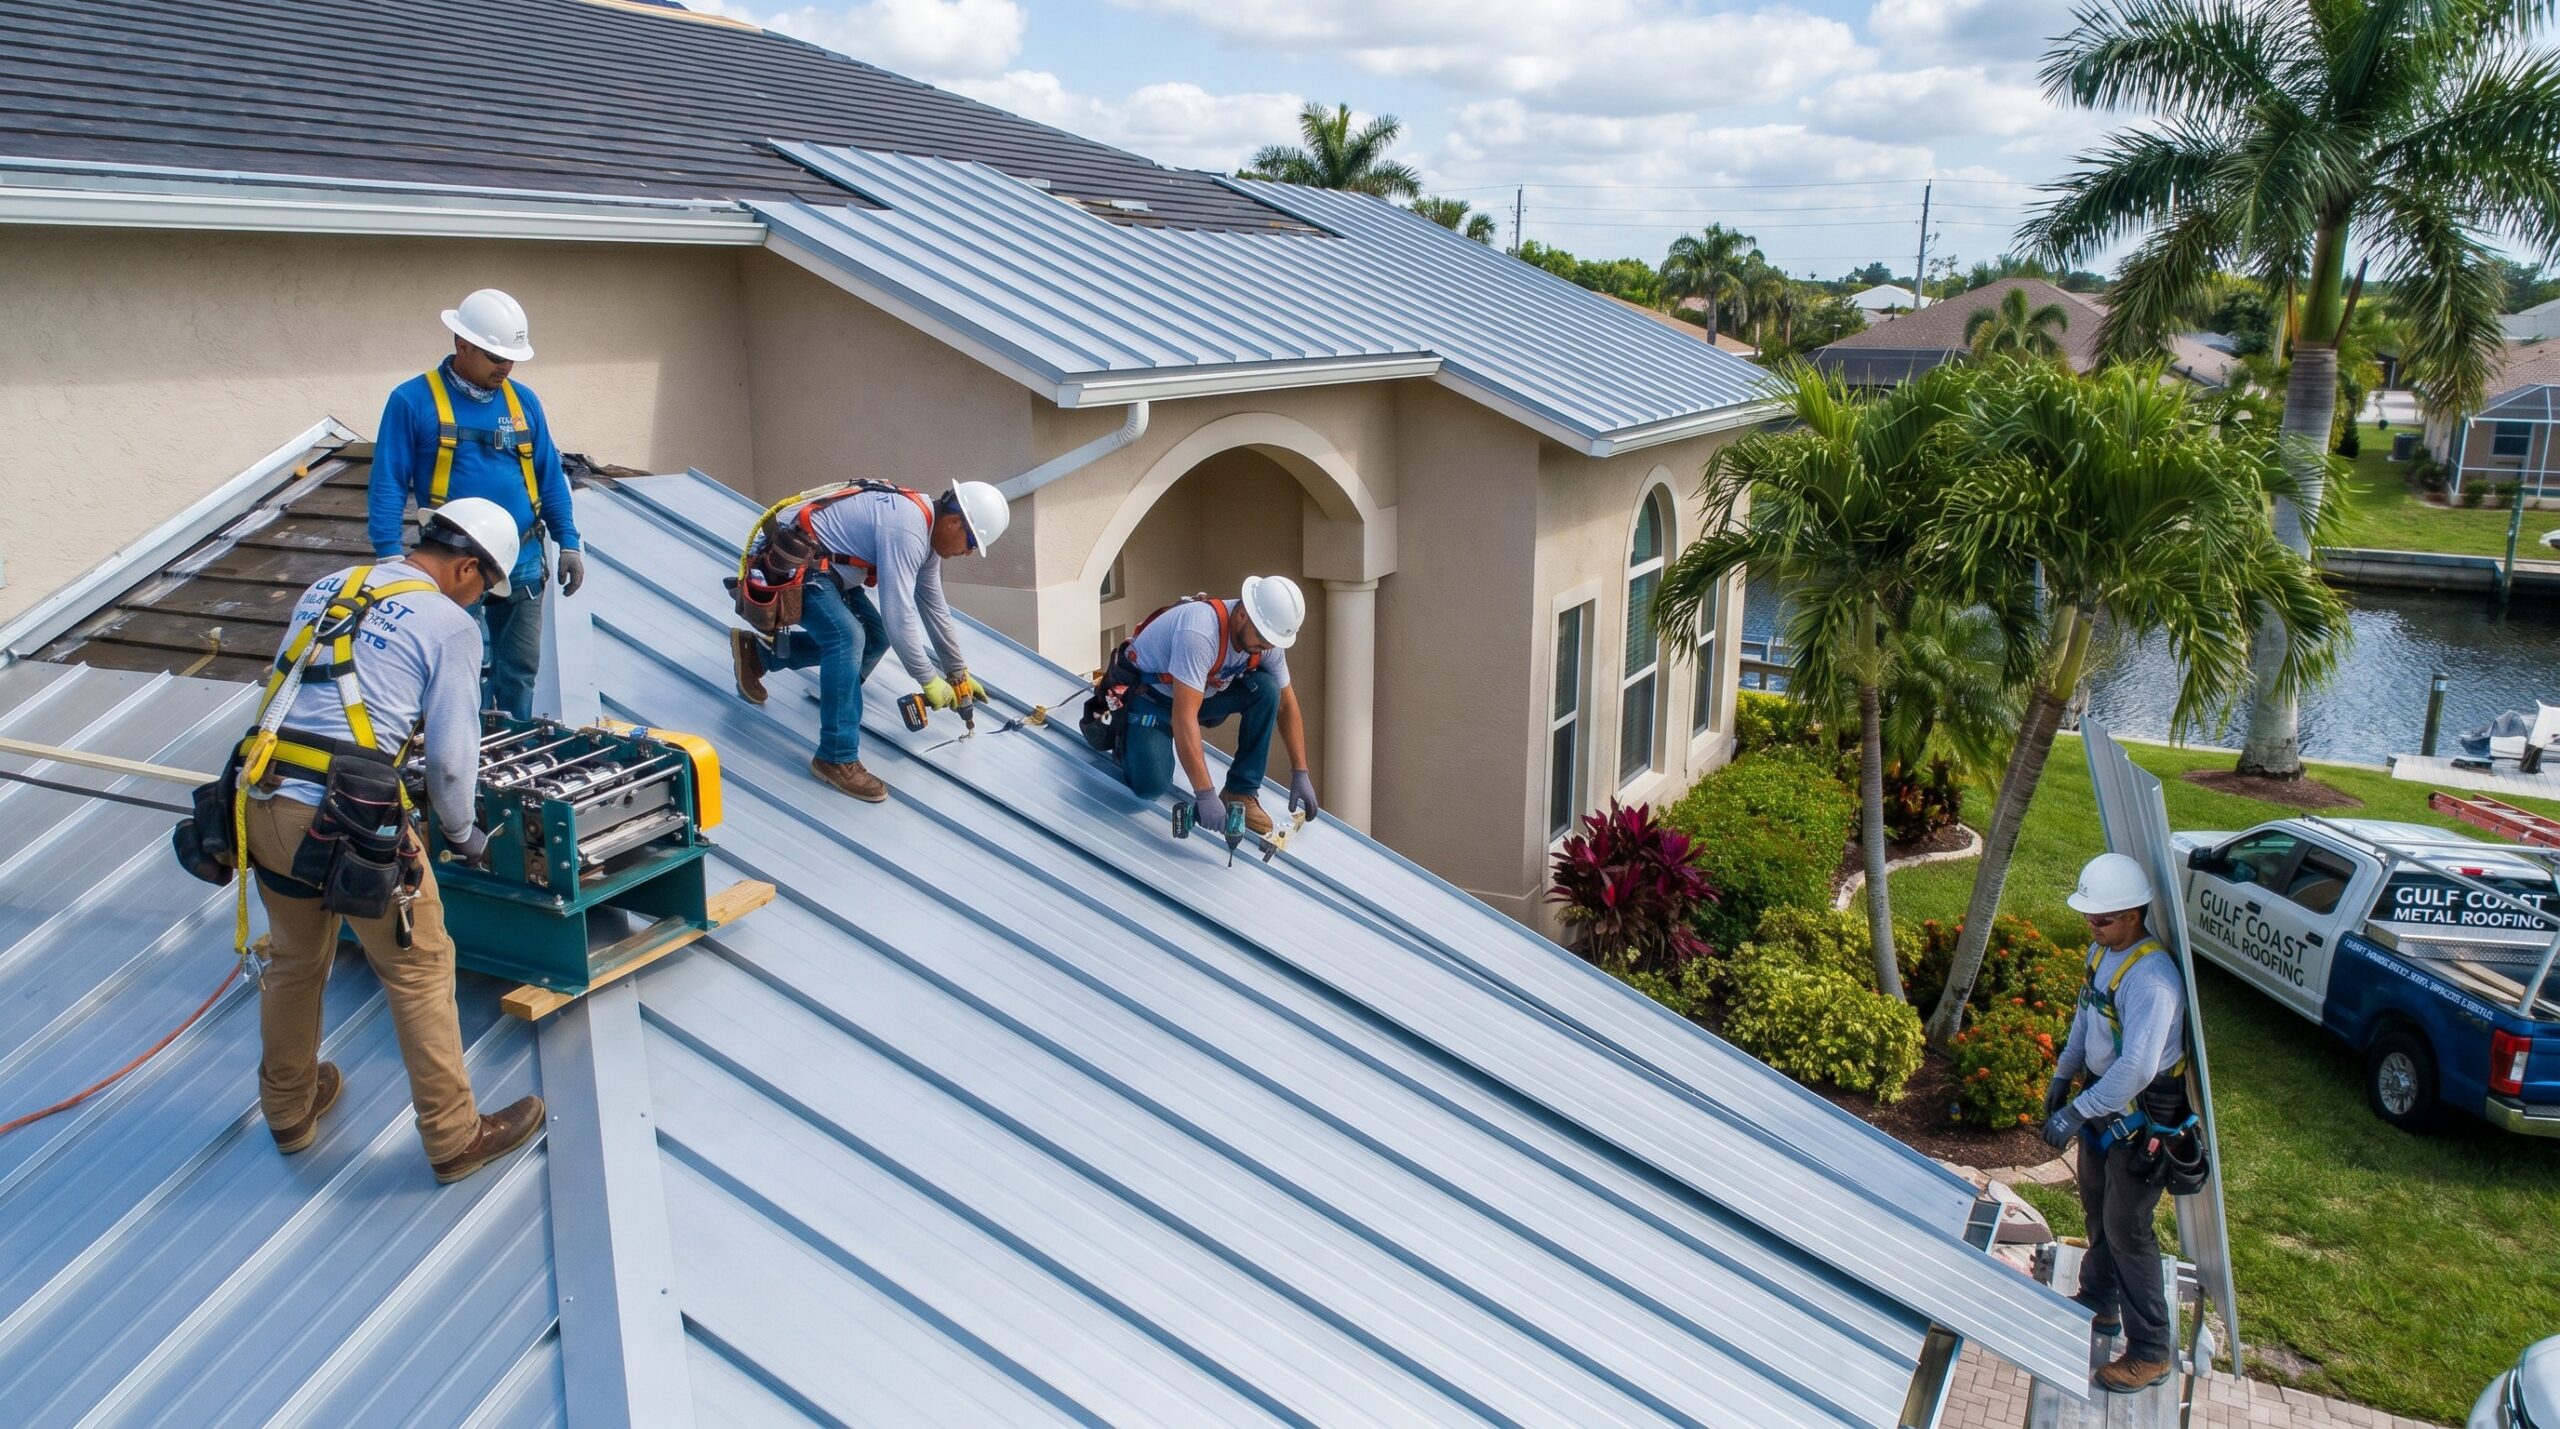
How to Install a Metal Roof in South Florida Step-by-Step Guide with Pro Tips and Safety Advice
February 16,2026
Metal roofs offer exceptional durability, lasting 40 to 70 years compared to asphalt shingles that typically need replacement every 15 to 20 years. This longevity, combined with energy efficiency and weather resistance, makes metal roofing an increasingly popular choice for South Florida homeowners dealing with intense sun, hurricanes, and coastal conditions.
Installing a metal roof in South Florida’s challenging climate requires careful planning, proper safety measures, and attention to detail specific to coastal environments. This comprehensive guide walks you through the complete installation process, from initial preparation to final inspection. You’ll learn professional techniques for handling different panel types, essential safety protocols for working at height in Florida’s heat and humidity, and how to avoid common mistakes that can lead to leaks or premature failure in our coastal climate.
Key Insight: The first panel sets the alignment for your entire roof. Starting square is critical because even a slight tilt will compound across the entire installation, creating alignment issues that become increasingly difficult to correct.
Whether you’re a homeowner in Martin, St. Lucie, or Palm Beach County considering a DIY project or a contractor looking to refine your techniques for Florida installations, this guide provides the knowledge you need to achieve a professional-quality installation that will protect your property for decades against South Florida’s unique weather challenges.
Understanding Metal Roofing Systems and Materials for South Florida
Before starting your installation, you need to understand the different types of metal roofing systems available and how they perform in South Florida’s coastal environment. The two main categories are exposed fastener panels and standing seam systems, each with distinct installation requirements and performance characteristics.
Exposed fastener panels, including corrugated and ribbed profiles, are more budget-friendly and involve driving screws with neoprene washers directly through the panel face. These systems work well for agricultural buildings and simple residential applications. Standing seam systems feature concealed fasteners and interlocking raised seams, eliminating thousands of potential leak points while allowing for thermal expansion—particularly important in Florida’s extreme temperature variations.
Material choices significantly impact your roof’s performance and longevity in South Florida’s coastal climate. Steel panels, typically 26-gauge for residential use, offer excellent strength and are often coated with Galvalume for corrosion resistance. Aluminum provides superior corrosion resistance, making it ideal for coastal areas like Jensen Beach, Port St. Lucie, and Palm Beach Gardens where salt air can accelerate corrosion. Copper develops an attractive patina over time but comes at a premium price.
| Material | Typical Gauge | Pros | Cons | Best Use |
|---|---|---|---|---|
| Steel | 26-gauge | Strong, affordable | Requires coating | General residential |
| Aluminum | .032″ | Corrosion-resistant | More expensive | Coastal areas |
| Copper | 16 oz | Beautiful patina, durable | Very expensive | Premium applications |
Essential Tools, Materials, and Safety Equipment
Proper preparation starts with gathering the right tools and materials for your specific roofing system. Your tool list should include aviation snips for detail work, a circular saw with a fine-tooth metal-cutting blade for long cuts, and a torque-limiting screw gun to prevent over-driving fasteners.
Safety equipment is non-negotiable when working on any roof, especially metal installations on steep slopes in South Florida’s intense heat. You’ll need a full-body harness, roof anchors rated for fall protection, and a lifeline system. Metalamerica.com emphasizes that proper fall protection equipment should be installed before any panels go up, as metal surfaces become extremely slippery when wet—a common occurrence during Florida’s afternoon thunderstorms.
Material requirements include your metal panels cut to length, high-temperature synthetic underlayment designed for Florida’s extreme heat, closure strips for eaves and ridges, and a complete trim package including eave trim, rake trim, and ridge caps. For fasteners, use neoprene-gasketed screws matched to your panel system, typically #14 hex-head screws for exposed fastener applications.
Safety Note: Never work on metal roofing during wet conditions, high winds, or Florida’s intense midday heat. Metal panels can become dangerously slippery during afternoon storms, and wind can quickly turn loose panels into projectiles. Plan work for early morning hours when possible.
Roof Preparation and Substrate Inspection
Proper substrate preparation forms the foundation of a successful metal roof installation, especially important in South Florida where hurricane-force winds test every connection. Start by inspecting the existing roof deck for soft spots, rot, or structural damage—common issues in Florida’s humid climate. Any compromised areas must be replaced before proceeding, as metal roofing will telegraph imperfections in the substrate.
If you’re installing over existing shingles, local building codes in Martin, St. Lucie, and Palm Beach counties may allow this approach if only one layer exists and the shingles lie flat. However, a complete tear-off provides the best opportunity to inspect and repair the deck thoroughly. Basc.pnnl.gov recommends ensuring the roof deck meets current fastener requirements for nail type, size, and spacing—particularly important for Florida’s wind load requirements.
Install your underlayment starting at the eave and working upward, with each course overlapping the lower one to shed water properly. Use high-temperature synthetic underlayment rather than standard felt, as metal roofing in South Florida can reach temperatures that cause felt to deteriorate or stick to panels. Secure the underlayment with cap nails or screws with plastic caps to resist wind uplift during hurricane season.
The final preparation step involves installing drip edge at eaves and rakes, followed by eave trim that creates a clean edge and provides a reference line for panel alignment. This trim must be level and properly fastened, as it guides the installation of your first panel.
Step-by-Step Metal Panel Installation Process
Begin panel installation by establishing a perfectly square reference line using the 3-4-5 method. Measure 3 feet along the eave and 4 feet up the rake; the diagonal should measure exactly 5 feet. This ensures your panels won’t drift crooked as you work across the roof—critical for maintaining proper water shedding in Florida’s heavy rains.
Install foam closure strips at the eave before placing your first panel. These strips match your panel profile and prevent insects, birds, and wind-driven rain from entering through the panel ribs—particularly important in South Florida where driving rains can force water through small openings. Position your first panel with approximately 1 inch overhang at the eave to direct water into gutters.
For exposed fastener systems, drive screws through the panel face at major ribs, following the manufacturer’s specified pattern. Metalamerica.com warns against over-driving screws, which compresses the neoprene gasket beyond its design point and actually reduces the seal. The screw should be snug with the washer slightly mushroomed, not crushed flat—especially important in Florida’s thermal cycling conditions.
Each subsequent panel overlaps or interlocks with the previous one. Check alignment every few panels by measuring from your reference line, as small drifts compound quickly over long roof runs. For standing seam systems, panels attach through concealed clips that allow for thermal movement while maintaining weather-tight seams—essential for handling South Florida’s extreme temperature variations.
Pro Tip: When cutting panels, avoid abrasive grinder blades that generate heat and damage protective coatings. Use electric nibblers or shears, and always clean metal shavings from the roof immediately to prevent rust stains—particularly important in our humid coastal environment.
Complete your installation by adding ridge caps, hip caps, and remaining trim pieces. Install inside closure strips at the ridge before the cap goes on, and use sealant tape under cap overlaps at joints. Proper flashing around penetrations like vents and chimneys requires custom-fitted pieces designed for your specific panel profile and capable of withstanding Florida’s wind-driven rain.
Conclusion
Installing a metal roof successfully in South Florida requires attention to detail, proper safety measures, and understanding of thermal movement and weather-sealing principles specific to our coastal climate. While the process isn’t overly complex, the consequences of mistakes can be costly and dangerous, especially when dealing with hurricane-force winds and driving rains. If your roof features multiple valleys, dormers, or very steep pitches, consider hiring experienced professionals like those at FoxHaven Roofing Group who have the specialized equipment, local expertise, and insurance for high-altitude work in South Florida conditions. With proper installation and minimal maintenance, your metal roof will provide decades of reliable protection against hurricanes, intense sun, and coastal weather while improving your home’s energy efficiency.