
How to Cut Metal Roofing: Essential Techniques for 2025
Installation & Maintenance
Metal Roofing Types
November 13,2025
How to cut metal roofing: essential techniques for 2025
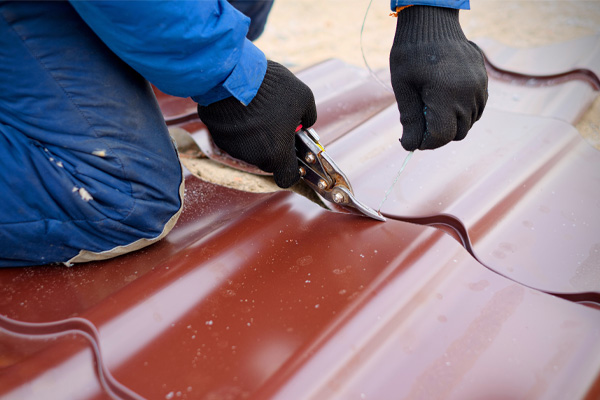
Always wear complete safety gear when cutting metal roofing to prevent injuries from sharp edges and debris
Cutting metal roofing correctly saves you time, money, and materials on your next project. Whether you are working on a residential roof replacement or a commercial installation, knowing the right cutting techniques ensures clean edges, proper fit, and long-lasting results. This guide walks you through the essential tools, safety practices, and proven methods for cutting different types of metal roofing.
Proper cutting technique can reduce material waste by up to 30% and prevent costly installation errors that compromise roof integrity.
Essential tools and safety gear for cutting metal roofing
Before you make your first cut, gather the right equipment and protective gear. Using appropriate tools makes the difference between clean, professional cuts and jagged edges that waste materials.
Required cutting tools
You will need these basic tools for most metal roofing projects:
- Tin snips for detailed cuts and edges (choose left-cut, right-cut, or straight-cut based on your needs)
- Circular saw with metal-cutting blade for long, straight cuts across panels
- Measuring tape and permanent marker to mark accurate cutting lines
- Clamps to secure sheets during cutting
- Nibbler attachment for curves and intricate shapes
Safety equipment you cannot skip
Metal roofing creates sharp edges and flying debris. Protect yourself with this essential safety gear:
- Heavy-duty work gloves rated for sharp materials
- Safety goggles or face shield
- Hearing protection when using power tools
- Steel-toed boots
- Long sleeves to protect your arms
Step by step cutting techniques for metal roofing
Different cuts require different approaches. Master these core techniques to handle any metal roofing project confidently.
Preparing your metal sheets
Accurate preparation prevents mistakes. Follow these steps before cutting:
- Measure your required dimensions twice
- Mark cutting lines clearly with a permanent marker
- Secure the sheet firmly with clamps on a stable work surface
- Position the sheet so the cut piece will fall away safely
- Double-check measurements before proceeding
The “measure twice, cut once” rule is critical with metal roofing because even small errors can create gaps that lead to leaks.
Using tin snips for detailed work
Tin snips excel at cutting edges, small sections, and detail work on corrugated metal roofing and metal shingles. Start your cut at the edge of the sheet and make smooth, steady strokes. Avoid closing the snips completely at the end of each cut, as this creates small dents in the metal edge.
For corrugated sheets, cut along the low points (valleys) rather than the high ridges to maintain the structural pattern.
Cutting with a circular saw
When you need to cut long, straight lines across standing seam metal roof panels or large sheets, a circular saw fitted with a fine-toothed metal-cutting blade delivers the best results.
Install a blade with at least 60 teeth designed specifically for metal. Set the sheet on sawhorses and let the saw do the work without forcing it through the material. Use a straight edge as a guide to ensure perfectly straight cuts.
Accurate measuring and marking before cutting prevents waste and ensures proper fit during installation
Using a nibbler for curves
For cutting around vents, chimneys, or creating curved edges, attach a nibbler to your power drill. Move the nibbler slowly along your marked line, allowing the tool to remove small bits of metal cleanly. This method works well for metal roof vents and accent installations.
Pro tips and common mistakes to avoid
Learn from experienced professionals to improve your results and avoid costly errors.
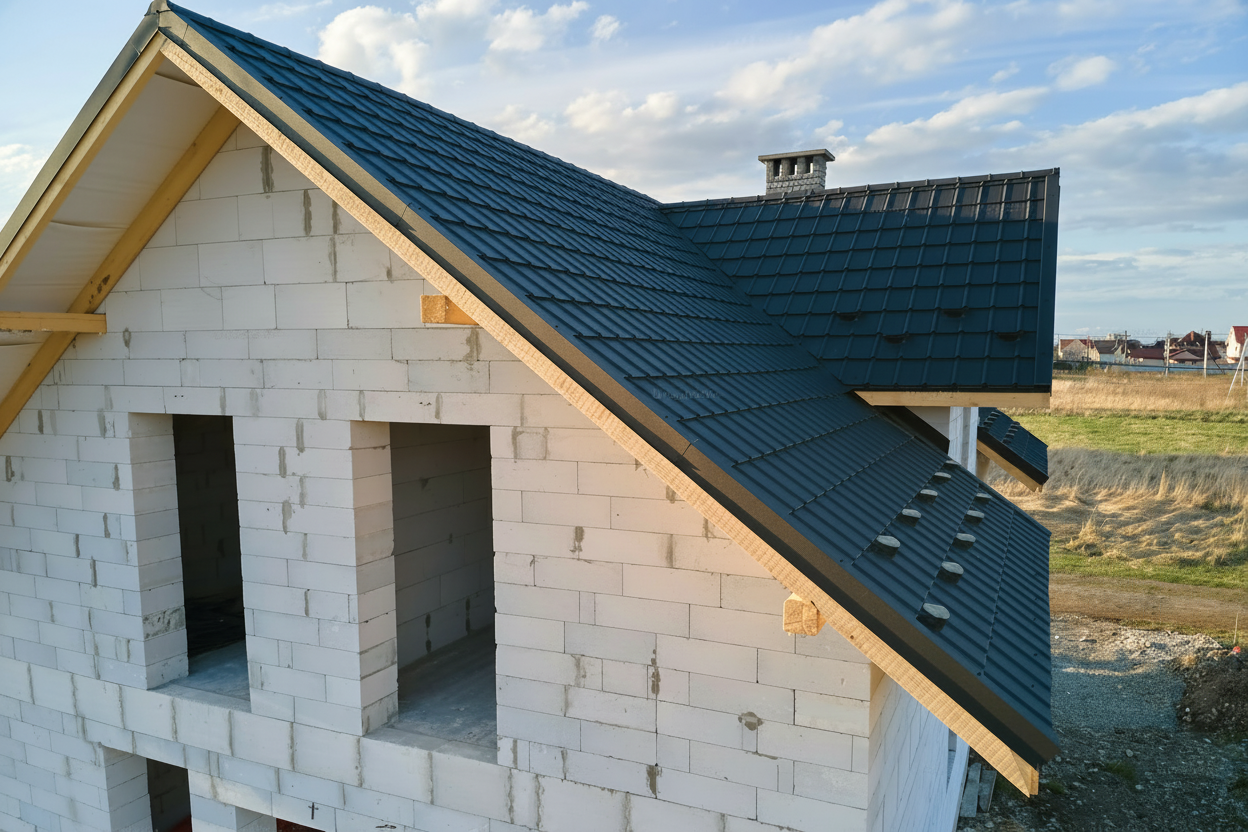
Cutting techniques by metal type
Different types of metal roofs require slight variations in approach:
| Metal Type | Best Tool | Key Consideration |
|---|---|---|
| Corrugated panels | Circular saw or tin snips | Cut in valleys, not ridges |
| Standing seam | Nibbler near seams | Preserve seam integrity |
| Metal shingles | Tin snips | Maintain pattern alignment |
| Steel roofing | Circular saw | Use slower speed |
Mistakes that cost time and money
Avoid these common errors:
- Rushing measurements leads to miscuts and wasted materials
- Using dull blades creates rough edges and requires more effort
- Skipping edge smoothing leaves dangerous sharp edges
- Cutting without proper support causes material to bend or bind
- Ignoring grain direction on some metals affects cut quality
After you cut: finishing touches
Smooth rough edges with a metal file or angle grinder fitted with a grinding disc. This step is essential for safety and helps prevent corrosion at cut edges. If you are installing metal roofing over existing shingles, pay extra attention to edge finishing where the new metal meets old materials.
For metal roof installation projects, consider applying touch-up paint or protective coating to cut edges to prevent rust and extend the life of your roof.
Partner with Foxhaven for expert roofing solutions
Mastering metal roofing cuts takes practice, but with the right tools and techniques, you can achieve professional results. Whether you are handling a small repair or a complete metal roof installation, proper cutting technique protects your investment and ensures lasting performance.
When working on commercial metal roofing projects, plan all cuts in advance to minimize waste and ensure consistent measurements across large installations.
At Foxhaven, we bring decades of expertise to every roofing project. Our team understands the nuances of working with different metal roofing materials and can help you achieve the results you need. Contact us today to discuss your roofing project and discover how we can make your installation seamless and successful.