
How to Repair a Rubber Roof in 2025: Quick Leak Fix Guide
Specialized & Commercial Roofing Systems
October 25,2025
How to Repair a Rubber Roof in 2025: Quick Leak Fix Guide
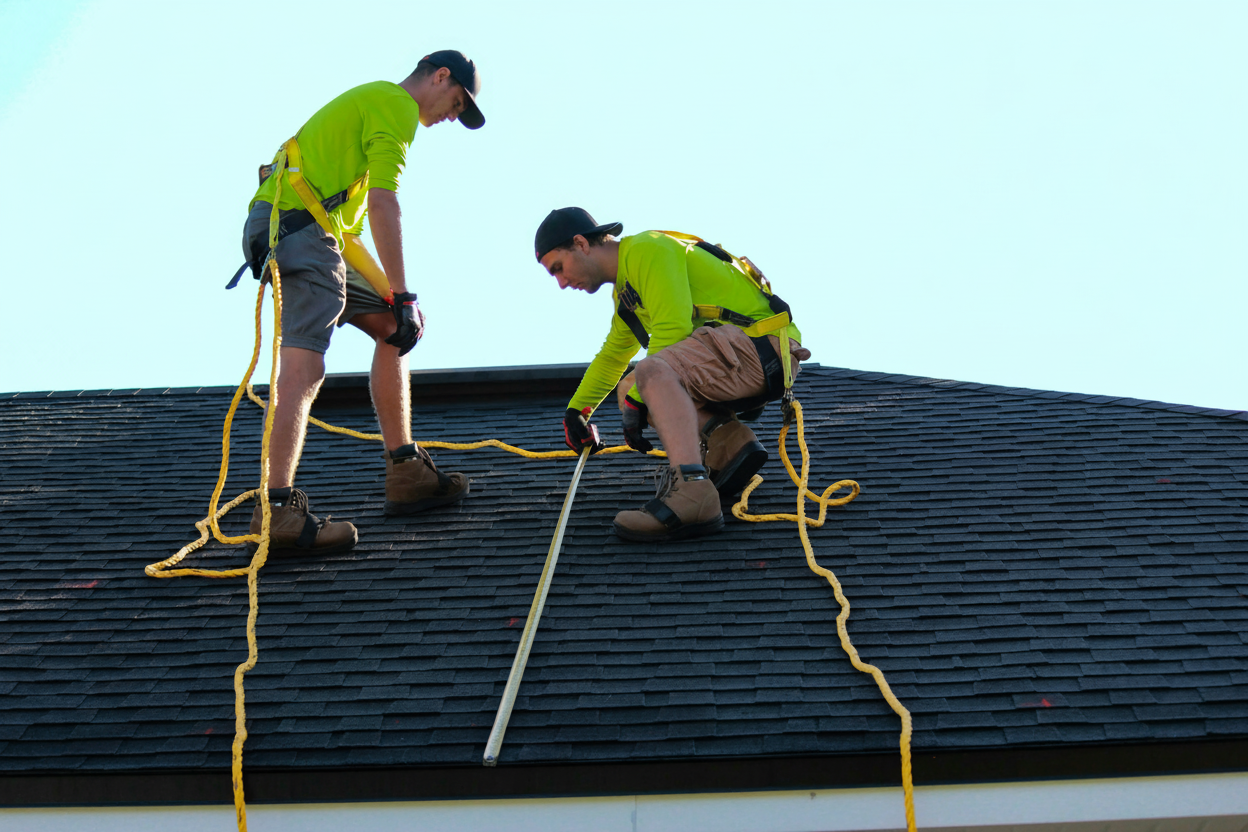
Alt text: Professional roofing technician carefully inspecting EPDM rubber roof membrane for damage and leaks
Rubber roofs remain one of the most durable and cost-effective options for flat and low-slope roofing systems. Whether you manage commercial properties or own a building with EPDM roofing, understanding how to handle minor repairs can save you significant time and money. This guide walks you through identifying damage, gathering the right materials, and completing repairs that last.
Quick Insight: EPDM rubber roofs typically last 20 to 30 years when properly maintained. Catching small issues early prevents costly replacements down the road.
Why rubber roofs need special attention
Rubber roofing membranes, particularly EPDM (ethylene propylene diene terpolymer), offer excellent weather resistance and flexibility. Unlike traditional shingle systems, rubber roofs create a seamless waterproof barrier across your entire roof surface. This makes them ideal for flat roof applications, but it also means that even small punctures or tears can compromise the entire system.
Common issues that affect rubber roofs include poor installation, extreme weather exposure, ponding water from inadequate drainage, punctures from foot traffic or debris, and natural aging. When you understand these vulnerabilities, you can take preventative steps and address problems before they escalate into major leaks.
Essential materials and preparation steps
Before you begin any repair work, gather the proper supplies. You will need EPDM rubber patches or repair tape, primer or adhesive designed for rubber roofing, a seam roller, utility knife or scissors, cleaning solvent, and safety equipment including gloves and non-slip footwear.
Start by conducting a thorough roof inspection. Look carefully at seams where the membrane connects, as these areas often show the first signs of separation or lifting. Check for visible cracks, punctures, or tears in the material. Pay special attention to areas around roof penetrations like vents, drains, and HVAC equipment. Mark any problem spots with chalk or tape so you can address each one systematically.
Common rubber roof damage causes
| Damage Type | Primary Cause | Prevention Method |
|---|---|---|
| Seam separation | Poor installation or aging | Regular inspections and maintenance |
| Punctures | Foot traffic or falling debris | Limit roof access and clear debris |
| Ponding damage | Inadequate drainage | Improve drainage systems |
| UV degradation | Sun exposure over time | Apply protective coatings |
Pro Tip: Similar to flat roof leak repairs, addressing rubber roof issues quickly prevents water from migrating under the membrane and causing structural damage.
Step by step rubber roof repair process
Once you have identified the damaged areas and gathered your materials, follow these steps for effective repairs:
Clean the repair area thoroughly. Use a rubber roof cleaning solvent to remove all dirt, grease, old adhesive, and debris. Scrub gently with a soft brush to avoid damaging the membrane further. Rinse if needed and allow the surface to dry completely. Any moisture or contamination will prevent proper adhesion.
Apply primer to enhance adhesion. Most EPDM repair products require primer for optimal performance. Brush or roll the primer evenly over the damaged area, extending slightly beyond where your patch will sit. Let it dry until it feels tacky to the touch. Check the manufacturer’s instructions for specific drying times.
Prepare and size your patch correctly. Measure the damaged section carefully and cut your rubber patch material at least 2 inches larger on all sides. Round the corners of your patch rather than leaving them square. Sharp corners tend to lift over time, while rounded edges create a more durable seal.
Secure the patch with proper technique. Position your patch over the damage and press it down firmly, working from the center outward. Use a seam roller to eliminate air bubbles and ensure complete contact between the patch and the roof surface. Roll in multiple directions to maximize adhesion.
Seal edges for extra protection. For areas prone to ponding water or heavy weather exposure, apply EPDM sealant around the patch edges. This creates an additional waterproof barrier and prevents edge lifting.

Alt text: Experienced roofing worker applying rubber patch material to repair damaged section of flat roof
Important Note: Similar to TPO roofing systems, EPDM repairs require clean, dry conditions for proper adhesion. Avoid working in wet weather or extreme temperatures.
When professional help makes sense
While minor repairs work well as DIY projects, certain situations require professional expertise. Call a qualified roofing contractor when you encounter extensive damage covering multiple roof sections, persistent water pooling that suggests structural or drainage problems, damage near critical areas like roof edges or HVAC penetrations, or when you feel uncertain about the severity of the issue.
Professional roofers bring specialized tools, extensive experience, and the ability to identify hidden problems that might not be obvious during a basic inspection. They can also advise whether a repair makes financial sense or if a flat roof replacement would be more cost-effective long term.
For commercial properties, regular roof inspections help catch problems early. Many building managers schedule semi-annual inspections to maintain their roofing systems and avoid emergency repairs.
Consider applying protective roof coatings to extend your rubber roof’s lifespan. Modern coating systems can add years of service life while improving energy efficiency. This preventative approach often costs less than waiting for major repairs to become necessary.