How to Install Metal Roofing Over Shingles in 2025: Complete Guide
Installation & Maintenance
Metal Roofing Types
October 25,2025
How to Install Metal Roofing Over Shingles in 2025: Complete Guide

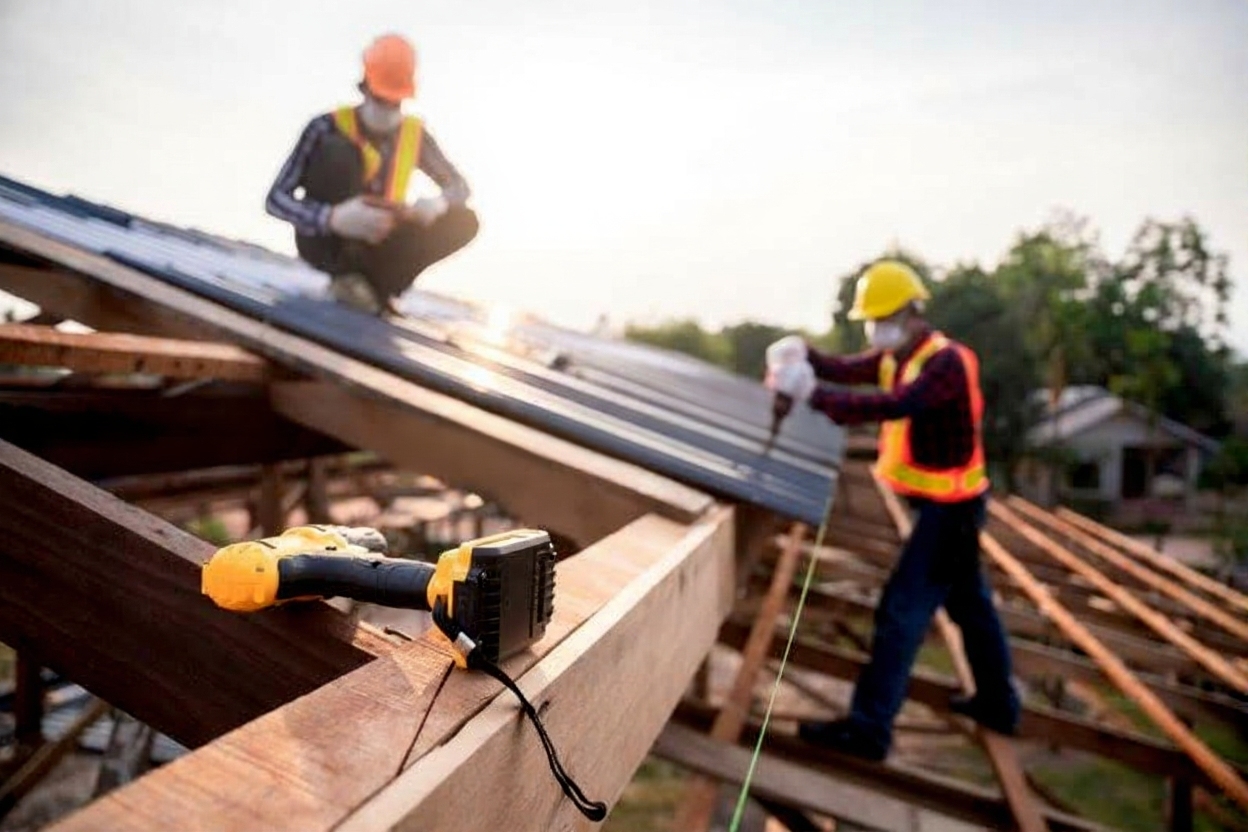
Alt text: Professional roofer in safety gear installing metal roof panels over asphalt shingles on residential home
Thinking about upgrading to a metal roof? You can save time and money by installing metal roofing directly over your existing shingles. This approach not only cuts down on labor costs but also adds an extra layer of insulation to your home. In this guide, you will learn the exact steps to install metal roofing over shingles, understand when this method works best, and discover how to maintain your new roof for decades to come.
Installing metal roofing over existing shingles can save you up to 30% on labor costs while adding years to your roof’s lifespan.
Understanding metal roofing installation over shingles
Metal roofing has become a top choice for homeowners seeking durability and energy efficiency. When you install metal roofing over shingles, you create a dual-layer system that offers enhanced protection and insulation. This method works well when your existing shingles are in decent condition, with no significant sagging or water damage.
Before you begin, check your local building codes. Some areas limit the number of roofing layers allowed, while others may require specific installation techniques. You should also inspect your current roof structure to ensure it can support the additional weight of metal panels.
Benefits of installing metal over existing shingles
Choosing to install metal roofing over your current shingles offers several practical advantages:
- Eliminates tear-off costs and reduces installation time by several days
- Provides extra insulation that can lower your energy bills
- Creates less construction waste and mess around your property
- Adds a protective barrier between the metal and your roof deck
- Extends the overall lifespan of your roofing system
When this method works best
Installing metal over shingles works well in specific situations. Your existing shingles should be relatively flat with minimal curling or cupping. The roof deck underneath must be solid with no soft spots or water damage. You will get the best results when your current roof has only one layer of shingles.
Step by step installation process
Installing metal roofing over shingles requires careful preparation and attention to detail. Follow these steps to ensure a successful installation that will protect your home for decades.
Prepare your existing roof surface
Start by thoroughly inspecting your current shingles. Replace any damaged or missing shingles to create a smooth base. Remove all loose debris, nails, and ridge caps. Pay special attention to areas around chimneys, vents, and valleys where water tends to collect.
Next, install a high-quality metal roof underlayment over the entire roof surface. This synthetic material provides crucial moisture protection and helps your metal roof perform at its best. Secure the underlayment with roofing nails, ensuring it lies flat without wrinkles.
Quality underlayment acts as your roof’s first line of defense against moisture, protecting both the metal panels and existing shingles beneath.
Install furring strips and battens
Furring strips create an air gap between the metal panels and shingles, allowing for ventilation and drainage. Space these wooden strips 24 inches apart, running perpendicular to the metal panels you will install. Use a chalk line to ensure the strips run perfectly straight.
Secure the furring strips with screws long enough to penetrate through the shingles and into the roof deck. This spacing also makes it easier to align your metal panels during installation.
Lay and secure metal panels
Begin installing panels at the bottom edge of your roof, working your way up. The first panel sets the standard for the entire roof, so take time to position it correctly. Overlap each panel according to the manufacturer’s specifications, typically 1 to 2 inches.
Use self-tapping metal screws with rubber washers to secure panels to the furring strips. These specialized fasteners prevent water infiltration while allowing for thermal expansion. Place screws in the flat sections of panels, not the ridges, and avoid overtightening which can dimple the metal.
Add flashing and trim details
Proper metal roof trim installation ensures water flows away from vulnerable areas. Install drip edge along roof edges to direct water into gutters. Add valley flashing where two roof planes meet, and use special boots around pipe vents.
Finish the installation with ridge caps along the roof peak. These pieces should overlap by at least 6 inches and be secured with screws every 12 inches. Take extra care with metal roof vents to ensure proper sealing against the elements.
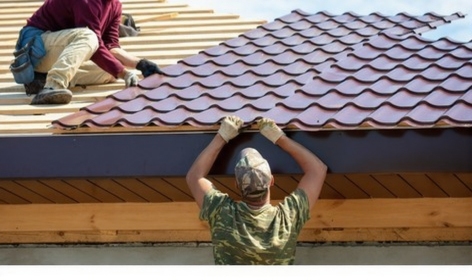
Alt text: Roofing crew working together on metal roof installation showing underlayment and panel placement techniques
Choosing the right materials and tools
Selecting appropriate materials ensures your metal roof installation succeeds. The metal panels you choose will affect both performance and appearance, so take time to understand your options.
Metal panel types and considerations
You can choose from several types of metal roofs, each with distinct characteristics. Standing seam panels offer a sleek, modern look with hidden fasteners that reduce leak potential. Corrugated panels provide excellent strength at a lower cost, making them popular for budget-conscious projects.
Metal roofs that look like shingles give you the appearance of traditional roofing with metal’s durability. When comparing options, consider the standing seam vs corrugated metal roof to understand which suits your home best.
| Panel Type | Best For | Average Cost per Sq Ft | Lifespan |
|---|---|---|---|
| Standing Seam | Modern homes, low maintenance | $8-12 | 40-70 years |
| Corrugated | Budget projects, sheds | $4-8 | 30-50 years |
| Stone-coated | Traditional aesthetics | $9-14 | 50+ years |
Essential installation tools
Gather these tools before starting your project:
- Metal cutting shears or a circular saw with metal-cutting blade
- Cordless drill with magnetic bit holder
- Chalk line and measuring tape
- Safety equipment including harness, gloves, and eye protection
- Roofing nailer for underlayment installation
Learn proper techniques for how to cut metal roofing to avoid waste and ensure clean edges. Quality tools make the installation process smoother and help you achieve professional results.
Professional-grade tools may cost more upfront, but they save time and reduce errors that could compromise your roof’s integrity.
Maintaining your metal roof long term
Once installed, your metal roof requires minimal maintenance compared to traditional shingles. However, regular care ensures it continues protecting your home effectively for decades.
Inspect your roof twice yearly, ideally in spring and fall. Look for loose fasteners, damaged panels, or accumulated debris. Metal roof cleaning keeps your roof looking great and prevents buildup that can trap moisture.
Clear gutters and downspouts regularly to ensure proper water drainage. Trim overhanging tree branches that could scrape the metal surface during windy conditions. If you notice any scratches or exposed metal, apply touch-up paint promptly to prevent rust.
For comprehensive guidance on keeping your roof in top condition, review best practices on how to clean a metal roof. Consider applying a metal roof coating every 10-15 years to refresh the protective layer and extend your roof’s lifespan.
Understanding how long does a metal roof last helps you plan for the future. With proper maintenance, your metal roof over shingles can easily last 40-50 years or more. If you do encounter issues, knowing about metal roof repair options helps you address problems quickly.